
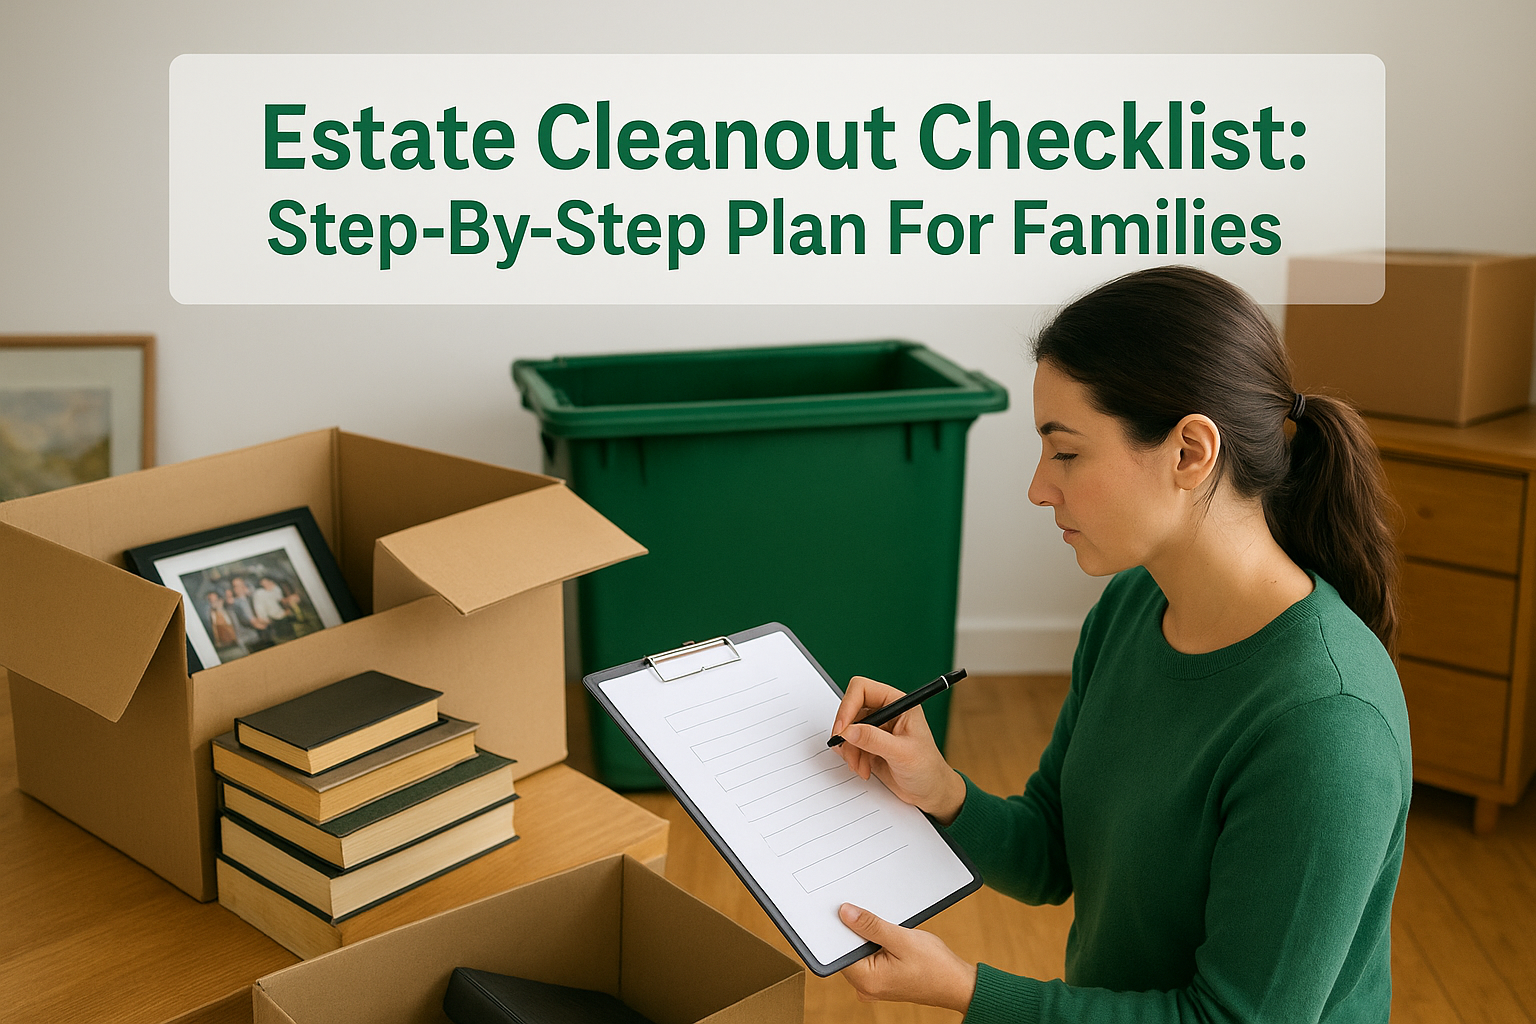
Clearing out a loved one’s home is one of those tasks that hits differently than any other project. There’s grief, there’s paperwork, there are rooms full of belongings that need sorting, and most families have no idea where to start. A solid estate cleanout checklist gives you a clear path through the process so you’re not making it up as you go, room by room, decision by decision.
This guide breaks down every major step, from securing the property and handling legal documents to sorting belongings, managing donations, and getting rid of what’s left. Along the way, you’ll likely need a dumpster, and that’s where we come in. At Dump Express, we deliver dumpsters across Cape Cod and Plymouth specifically for projects like these, with transparent pricing and flexible scheduling that fits your timeline, not ours.
Below, you’ll find the full step-by-step plan built to help families stay organized and avoid costly mistakes during an estate cleanout. Whether you’re handling things yourself or coordinating with siblings, an attorney, or an estate sale company, this checklist keeps the entire process manageable from start to finish.
Before you start: rules, roles, and a realistic plan
Jumping straight into boxes and bags without a plan is how families waste days and create conflict. Before you touch anything in the home, take time to understand the legal situation and assign clear responsibilities to everyone involved. Getting these two things right before day one saves you from backtracking, disagreements, and costly mistakes later.
Assign roles before anyone opens a drawer
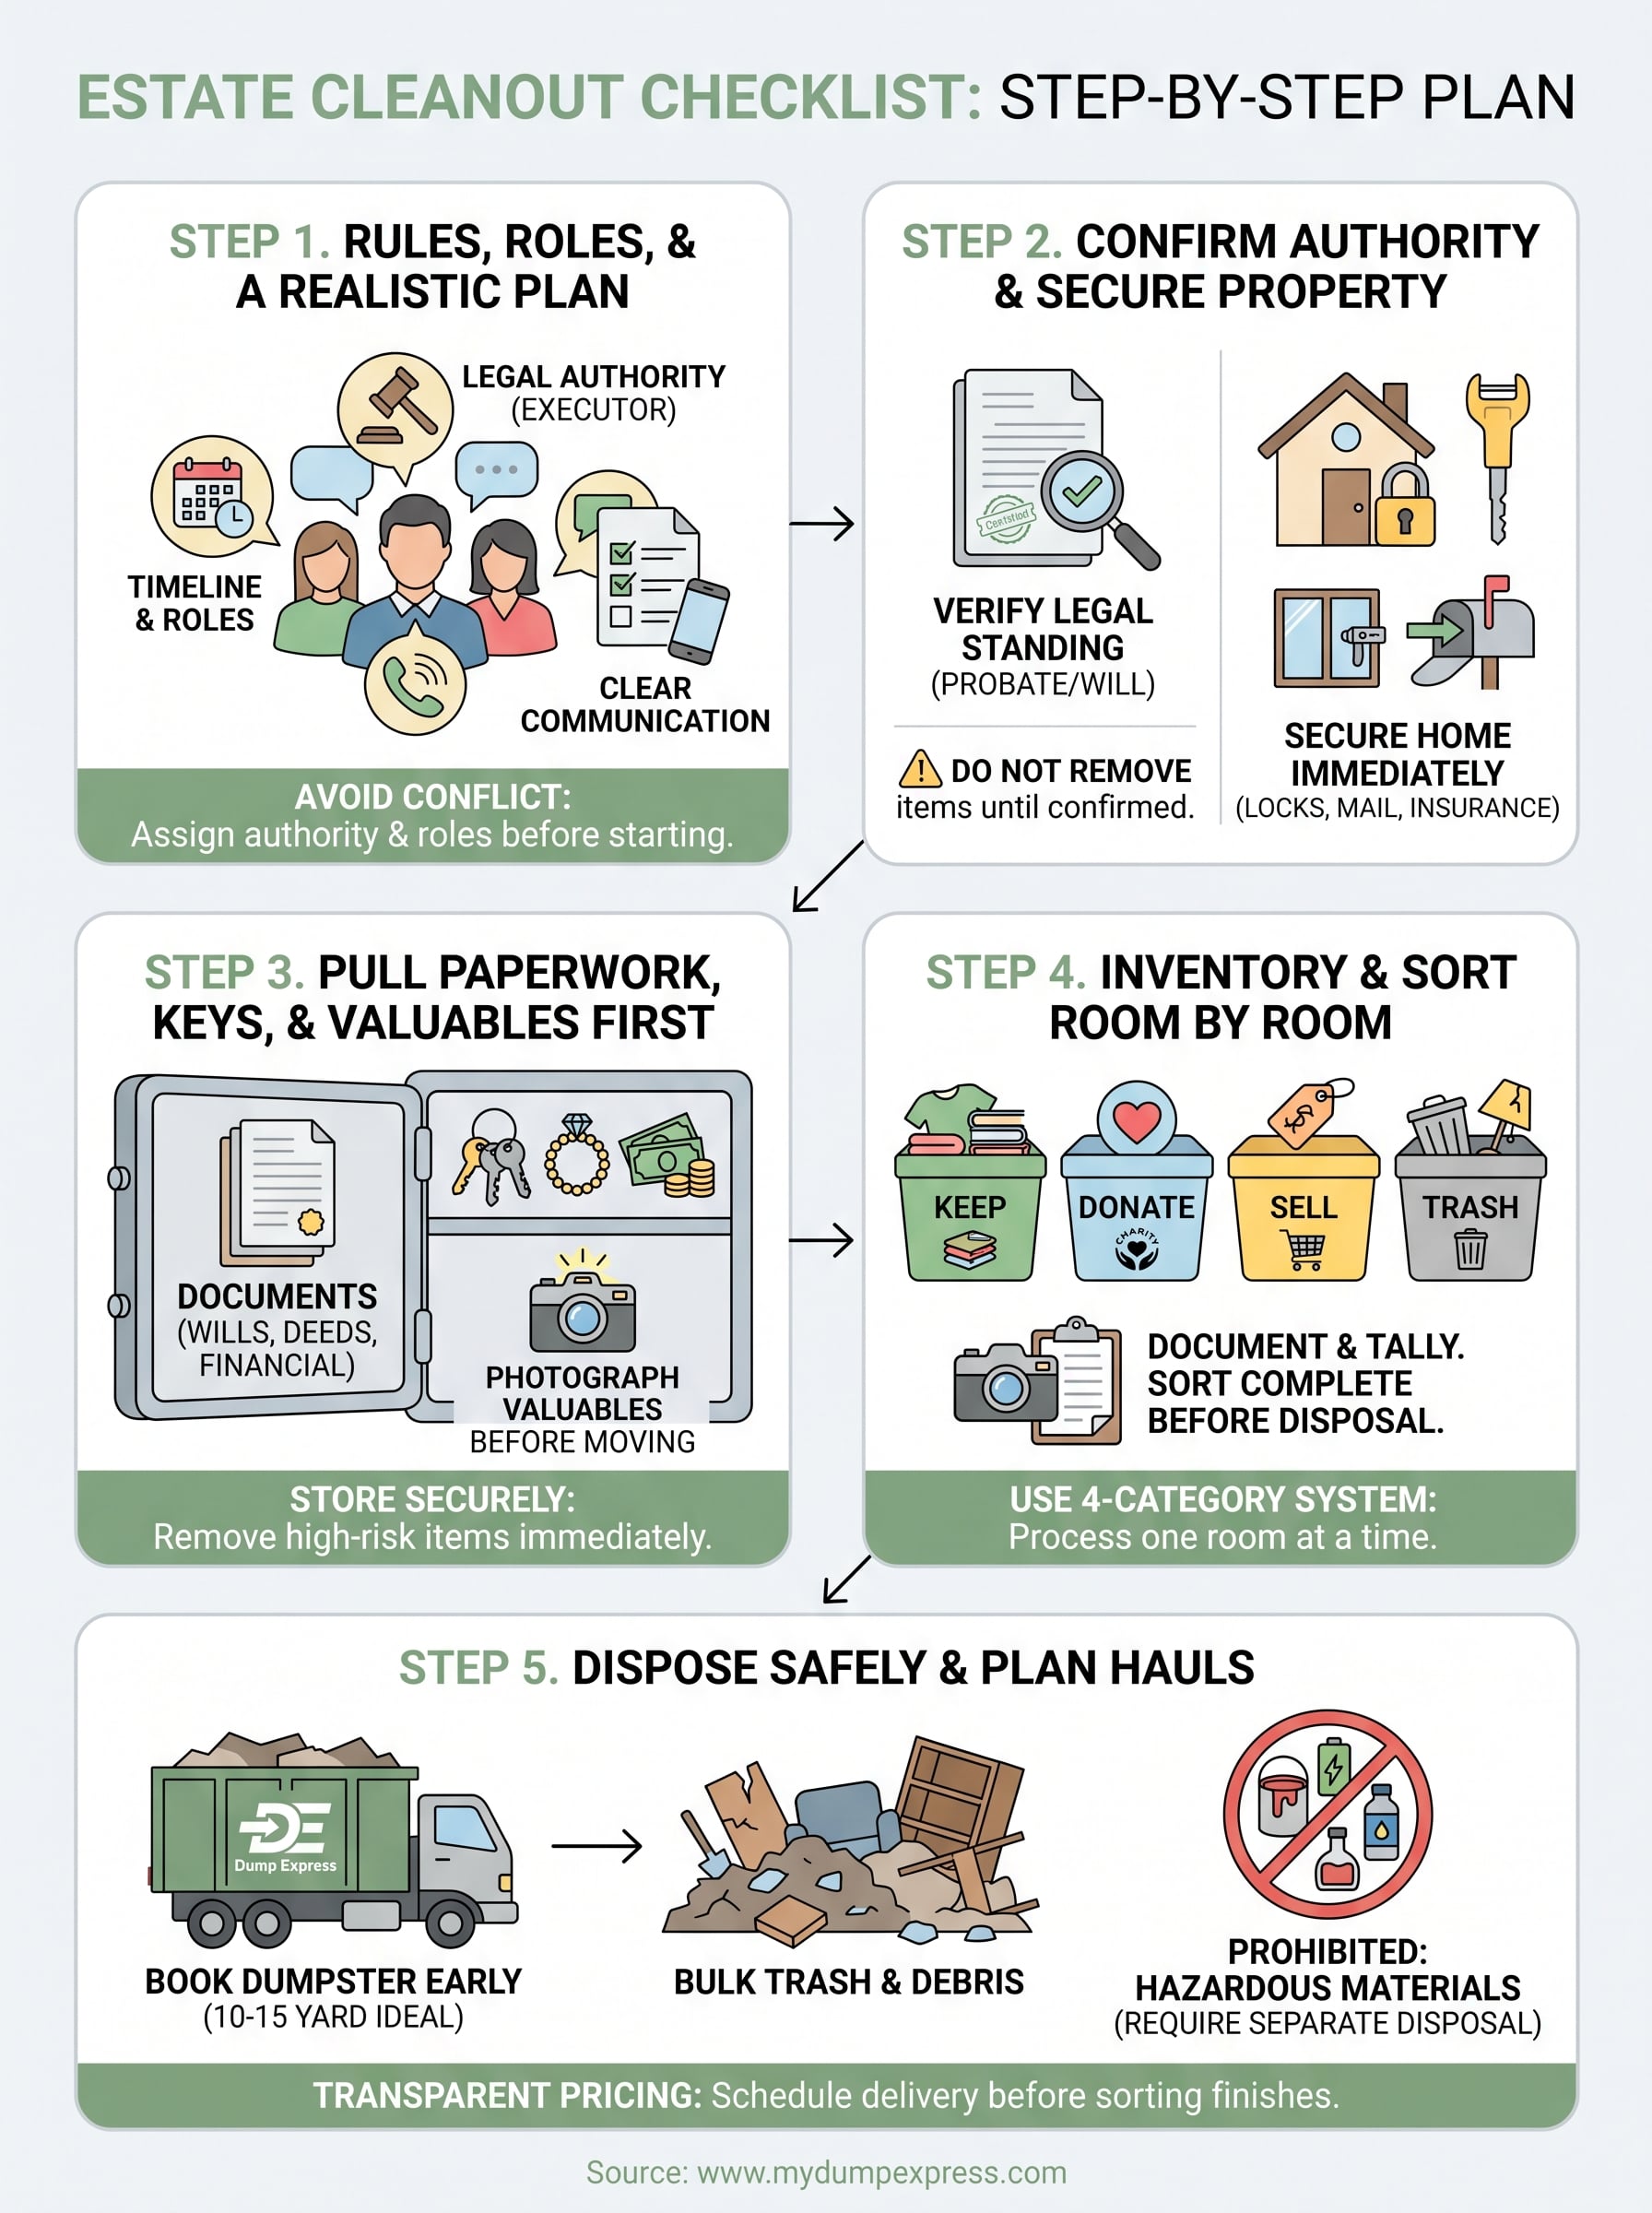
The most common source of friction in an estate cleanout is unclear ownership of decisions. Identify who holds legal authority (the executor or administrator named in the will or appointed by the probate court) and make sure everyone else understands that this person has final say on key decisions. Then assign practical roles: one person coordinates scheduling, one tracks donations and sales, and one manages disposal. Write it down. A simple shared document or group text thread keeps everyone aligned without repeated phone calls.
Unclear roles are the single biggest cause of delays and family conflict during an estate cleanout. Settle this before you set foot in the house.
Build a realistic timeline
Most families underestimate how long a full estate cleanout actually takes. A typical two-to-three bedroom home requires anywhere from three to seven full working days, depending on how much has accumulated over the years. Map out your available days on a calendar, and account for time to arrange donations, book a dumpster, and schedule pickups. Your estate cleanout checklist only works if you give yourself enough time to follow it properly.
| Phase | Estimated Time |
|---|---|
| Paperwork and securing the home | 1 to 2 days |
| Sorting and inventorying | 2 to 4 days |
| Donations, sales, and disposal | 1 to 3 days |
| Final sweep and cleaning | Half to 1 day |
Step 1. Confirm authority and secure the home
Before anything leaves that house, confirm who holds legal authority to make decisions about the estate. Acting without this confirmation, even with good intentions, can create liability or family disputes that derail the entire process.
Verify your legal standing
The executor named in the will has the authority to manage and distribute the estate. If there is no will, the probate court appoints an administrator, which requires filing paperwork before you proceed. Contact a probate attorney in your state to confirm your standing if there is any uncertainty. Your estate cleanout checklist should not move past this point until you have this documentation in hand.
Do not remove, sell, or dispose of any items until you have confirmed legal authority in writing.
Secure the property the same day
Once authority is confirmed, physically secure the home immediately. Change the locks or rekey the doors so that only authorized people have access. Check that all windows latch properly, cancel any scheduled deliveries, notify the homeowner’s insurance company of the change in occupancy status, and redirect mail to a trusted address. These steps protect the property and its contents while the cleanout is underway.
Step 2. Pull paperwork, keys, and valuables first
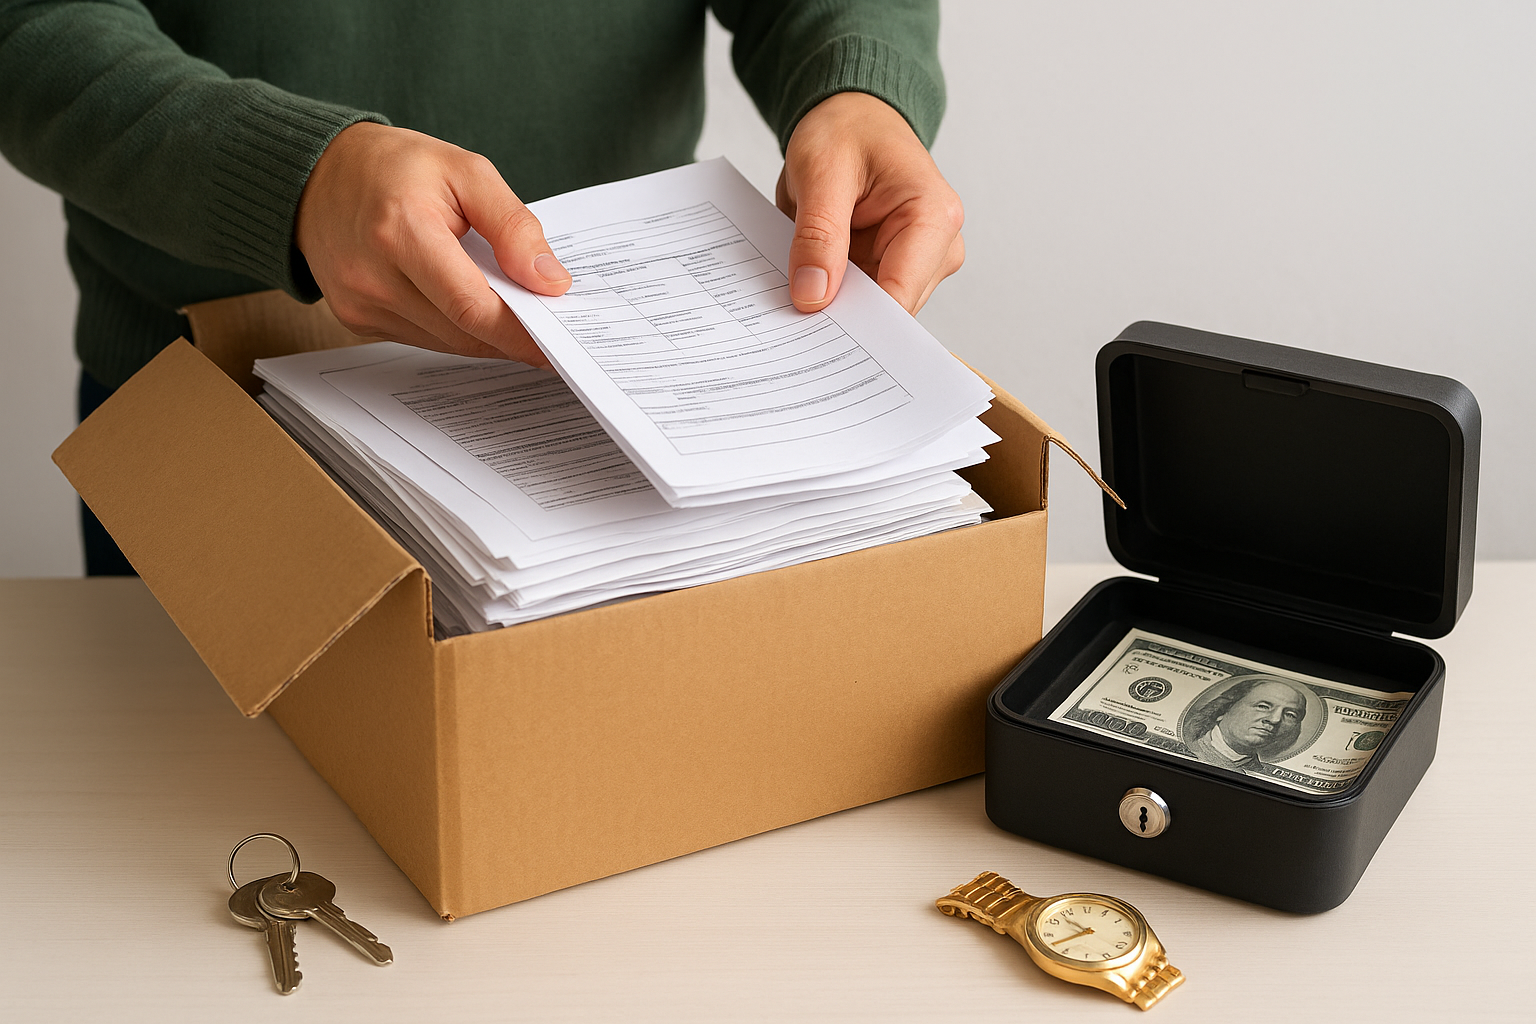
Before you sort a single closet or clear a single shelf, pull all paperwork, keys, and valuables out of the home and store them in a secure location. These items carry the highest risk of getting lost, damaged, or accidentally thrown away once the full cleanout begins.
Find documents and financial accounts
Work through every room systematically and gather wills, deeds, tax returns, bank statements, insurance policies, and vehicle titles. Check obvious places like filing cabinets and desks, but also look inside books, shoeboxes, and kitchen drawers. Once collected, store everything in a locked box or with the executor until each document is reviewed and accounted for.
Do not leave original documents in the home overnight once the cleanout is underway.
Locate keys, jewelry, and high-value items
Your estate cleanout checklist should include a dedicated pass through every room specifically for small valuables. Look for jewelry, cash, coins, collectibles, and spare keys to vehicles or storage units. Check coat pockets, nightstand drawers, freezers, and under mattresses, since these are the spots where families most commonly lose items permanently. Photograph anything of potential value before it moves out of the home so you have a visual record if questions come up later.
Step 3. Inventory and sort room by room
Once valuables are secured, work through the home one room at a time and sort every item into one of four categories: keep, donate, sell, or trash. Moving between rooms before finishing one creates confusion and slows the whole process down.
Don’t make permanent disposal decisions on anything until the full inventory pass for that room is complete.
Use a four-category sorting system
Label four areas in each room using boxes, tape on the floor, or colored stickers to represent keep, donate, sell, and trash. Work through every drawer, shelf, and closet before moving on. Your estate cleanout checklist should include a running tally of what lands in each category so you have a clear picture of disposal needs before you arrange pickups or hauls.

| Category | Action |
|---|---|
| Keep | Box and label for transport |
| Donate | Contact local organizations for pickup |
| Sell | Set aside for estate sale or online listing |
| Trash | Stage near exit for dumpster or haul |
Document before you remove anything
Photograph every room and significant item before it moves. This gives you a record for probate, insurance, and family disputes. A simple numbered photo log tied to your inventory list is enough to protect everyone involved.
Keep the log in a shared folder that all decision-makers can access. A service like Google Drive works well since everyone reviews photos in real time without coordinating back and forth.
Step 4. Dispose safely and plan dumpsters or hauls
Once sorting is complete, you have a clear picture of what needs to leave the property. Bulk trash, broken furniture, and general debris from a typical estate cleanout add up fast, and most families underestimate the total volume until it is all staged near the exit. A rented dumpster placed on the driveway is almost always the most practical solution for moving everything out in one or two hauls.
Know what you can and cannot throw away
Not everything goes in a dumpster. Hazardous materials like paint, pesticides, medications, and motor oil require separate disposal through your local household hazardous waste program. Electronics, mattresses, and tires often carry disposal fees or need to go to specific drop-off facilities. Check your town’s disposal rules before you book anything.
Throwing prohibited items in a dumpster can result in surcharges or a rejected load, which pushes your entire timeline back.
Book your dumpster before disposal day
Your estate cleanout checklist should include reserving a dumpster before you finish sorting, not after. For most two-to-three bedroom homes, a 10-yard or 15-yard container handles the full load without requiring a second haul. Schedule delivery for the day you plan to start moving trash out so the container sits on-site and ready when you need it.
A simple finish line
An estate cleanout is a big project, but it is a finite one. Follow this estate cleanout checklist in order and you will move through each phase without losing track of what still needs to happen. Secure the home first, pull valuables before anything else moves, sort room by room with a clear four-category system, and handle disposal last. That sequence protects you legally, keeps the family aligned, and gets the property cleared on a realistic timeline without unnecessary backtracking.
Once sorting wraps up, having a dumpster already on-site makes the final push straightforward. You load what needs to go, the container gets picked up, and the project is finished. Nothing else needs to be scheduled or chased down. If you are handling a cleanout anywhere on Cape Cod or in the Plymouth area, book a dumpster with Dump Express for upfront pricing, flexible scheduling, and same-day delivery when your timeline is tight.