
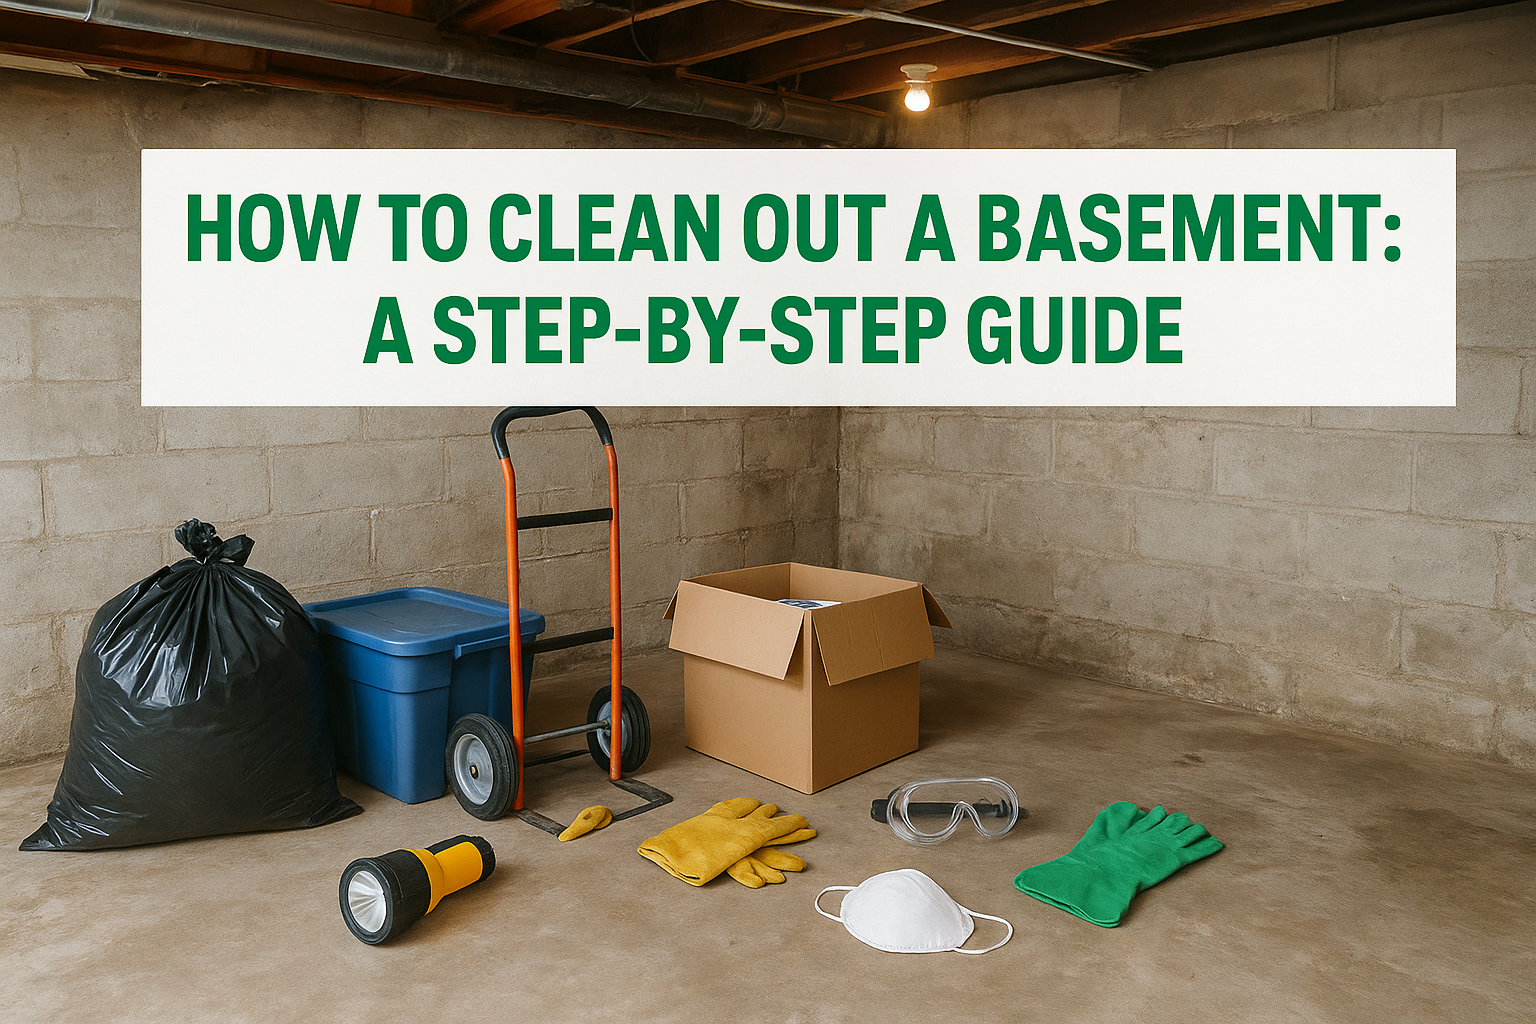
That basement full of old furniture, waterlogged boxes, and stuff you forgot you owned isn’t going to sort itself out. Learning how to clean out a basement takes more than a free Saturday and a stack of trash bags. It takes a plan, because basements collect decades of clutter in corners you can’t even see until you start moving things.
This guide walks you through the actual process, from sorting and staging your belongings to tackling the grime that builds up in a space with poor airflow and higher humidity. You’ll get a realistic order of operations so you’re not hauling the same box up the stairs twice, plus tips on spotting mold or water damage before it becomes a bigger problem than the clutter itself.
We’ll also cover the part most people underestimate: getting rid of everything you’ve pulled out. Whether you’re dealing with a single carload or a basement packed floor to ceiling, you need a disposal plan that matches the job. If the pile is bigger than your trunk can handle, we’ll show you how a rented dumpster speeds up the whole cleanout and saves you multiple dump runs.
What you need before you start a basement clean-out
Before you touch a single box, spend twenty minutes getting your gear together. A basement clean-out stalls fast when you’re running upstairs for gloves or hunting down extra trash bags halfway through. Gathering supplies first means you work in one continuous push instead of stopping every fifteen minutes.
Gear and supplies to gather
Stock up on the basics before you start pulling things off shelves. You’ll go through more bags and boxes than you expect, especially in a basement that hasn’t been touched in years.
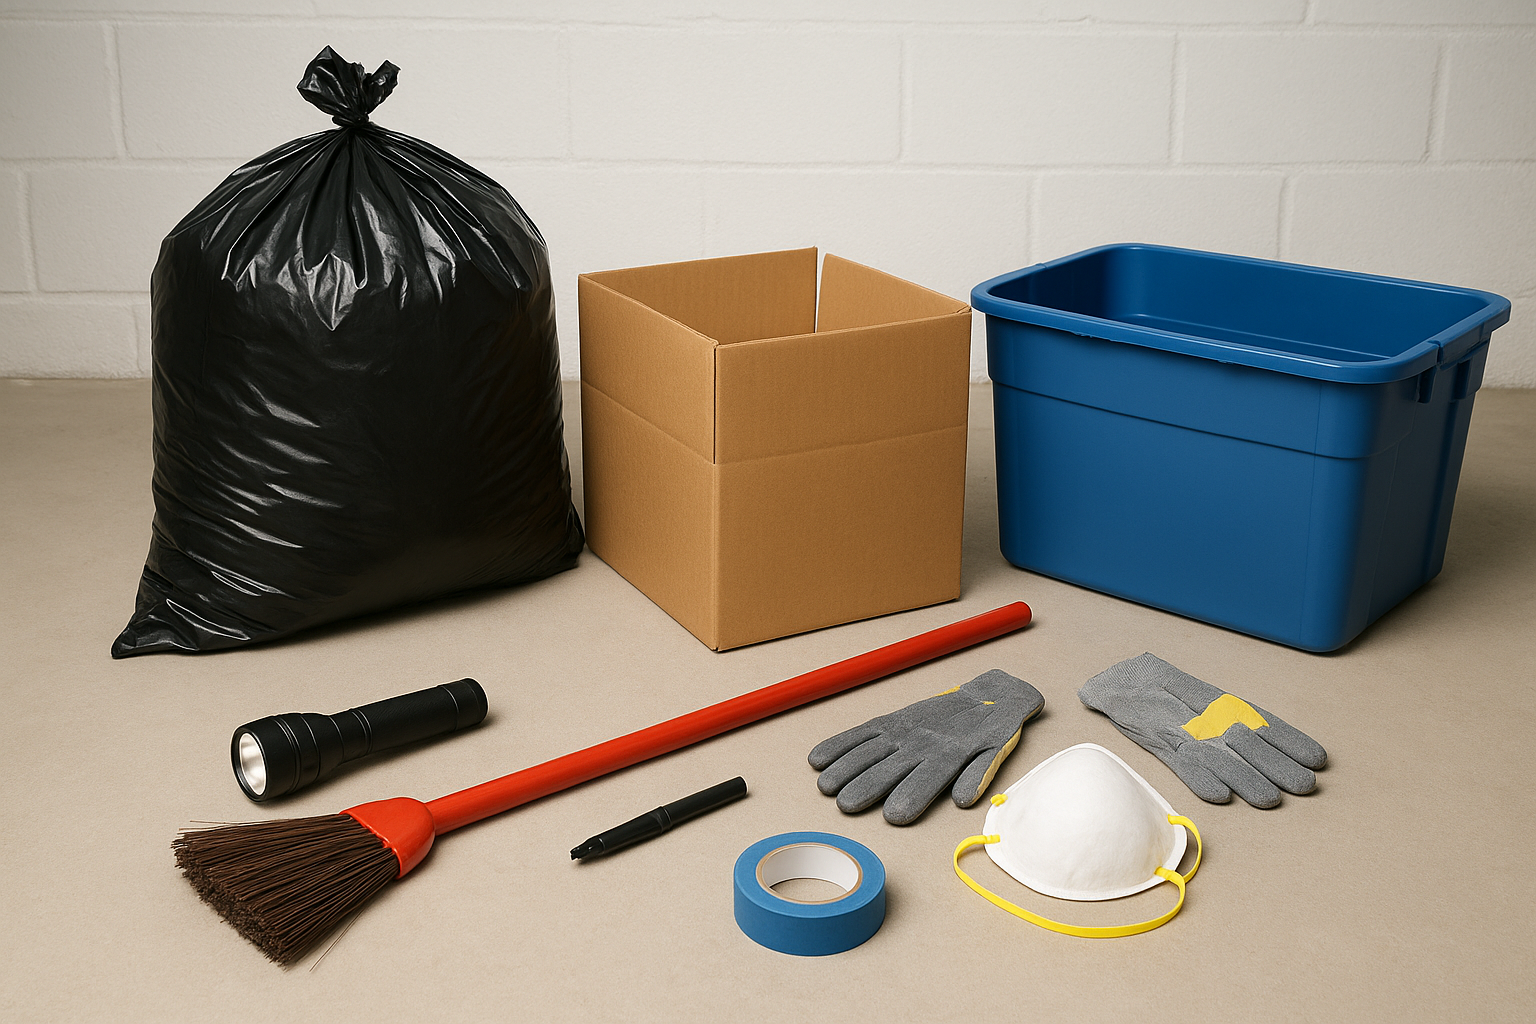
- Heavy-duty contractor trash bags (3-mil or thicker, since basement debris tears thin bags)
- Sturdy cardboard boxes or bins for sorting keep, donate, and recycle piles
- Furniture dolly or hand truck for moving heavy items up stairs
- Flashlight or headlamp for dim corners and under stairwells
- Broom, shop vac, and cleaning rags for the deep clean phase
- Painter’s tape and a marker to label boxes as you sort
Safety equipment for basement conditions
Basements trap moisture, dust, and sometimes mold spores that you won’t notice until you’re breathing hard from hauling boxes. Protective gear matters more here than in almost any other room in the house, because you’re often dealing with decades of undisturbed dust and materials nobody’s checked on since they went into storage.
Treat every unopened basement box like it might contain mold, mice, or sharp debris, because sooner or later, one of them will.
Put on work gloves, closed-toe boots, and a properly rated dust mask (N95 or better) before you open anything that’s been sitting for years. If you spot dark staining on cardboard or a musty smell that gets stronger near the walls, add safety goggles too. Water-damaged materials can carry mold spores that irritate your eyes and lungs long before you see obvious growth.
Time and help you’ll need
Most homeowners underestimate how long a basement clean-out takes. A single-car garage worth of clutter might take an afternoon, but a finished basement packed with furniture, holiday decorations, and old appliances often needs a full weekend, sometimes two. Block out more time than you think you need, and line up a second set of hands for anything heavier than a filing box, like couches, water heaters, or old workout equipment. Two people move a mattress up basement stairs in five minutes. One person alone can take twenty and risks a hurt back.
Plan your disposal method before you start
Decide how you’re getting rid of everything before you start pulling it out of the basement, not after. If you wait until the driveway is full of trash bags to figure out disposal, you’ll end up with a pile sitting outside for days. For most basement clean-outs bigger than a few carloads, a rented dumpster beats multiple trips to the transfer station.
| Basement size | Typical clutter level | Recommended dumpster |
|---|---|---|
| Small storage basement | Light, mostly boxes | 5-yard |
| Partially finished basement | Moderate, some furniture | 10-yard |
| Full basement clean-out | Heavy, furniture and appliances | 15-yard |
| Whole-house purge including basement | Very heavy, multiple rooms | 20-yard |
Order the dumpster to arrive the morning you start, or the day before if you want it staged and ready. That way you’re never stuck deciding where to put the next armload of junk, and you won’t have to make a separate trip to figure out local disposal rules for mattresses, appliances, or construction debris once you’re already deep into the sorting process.
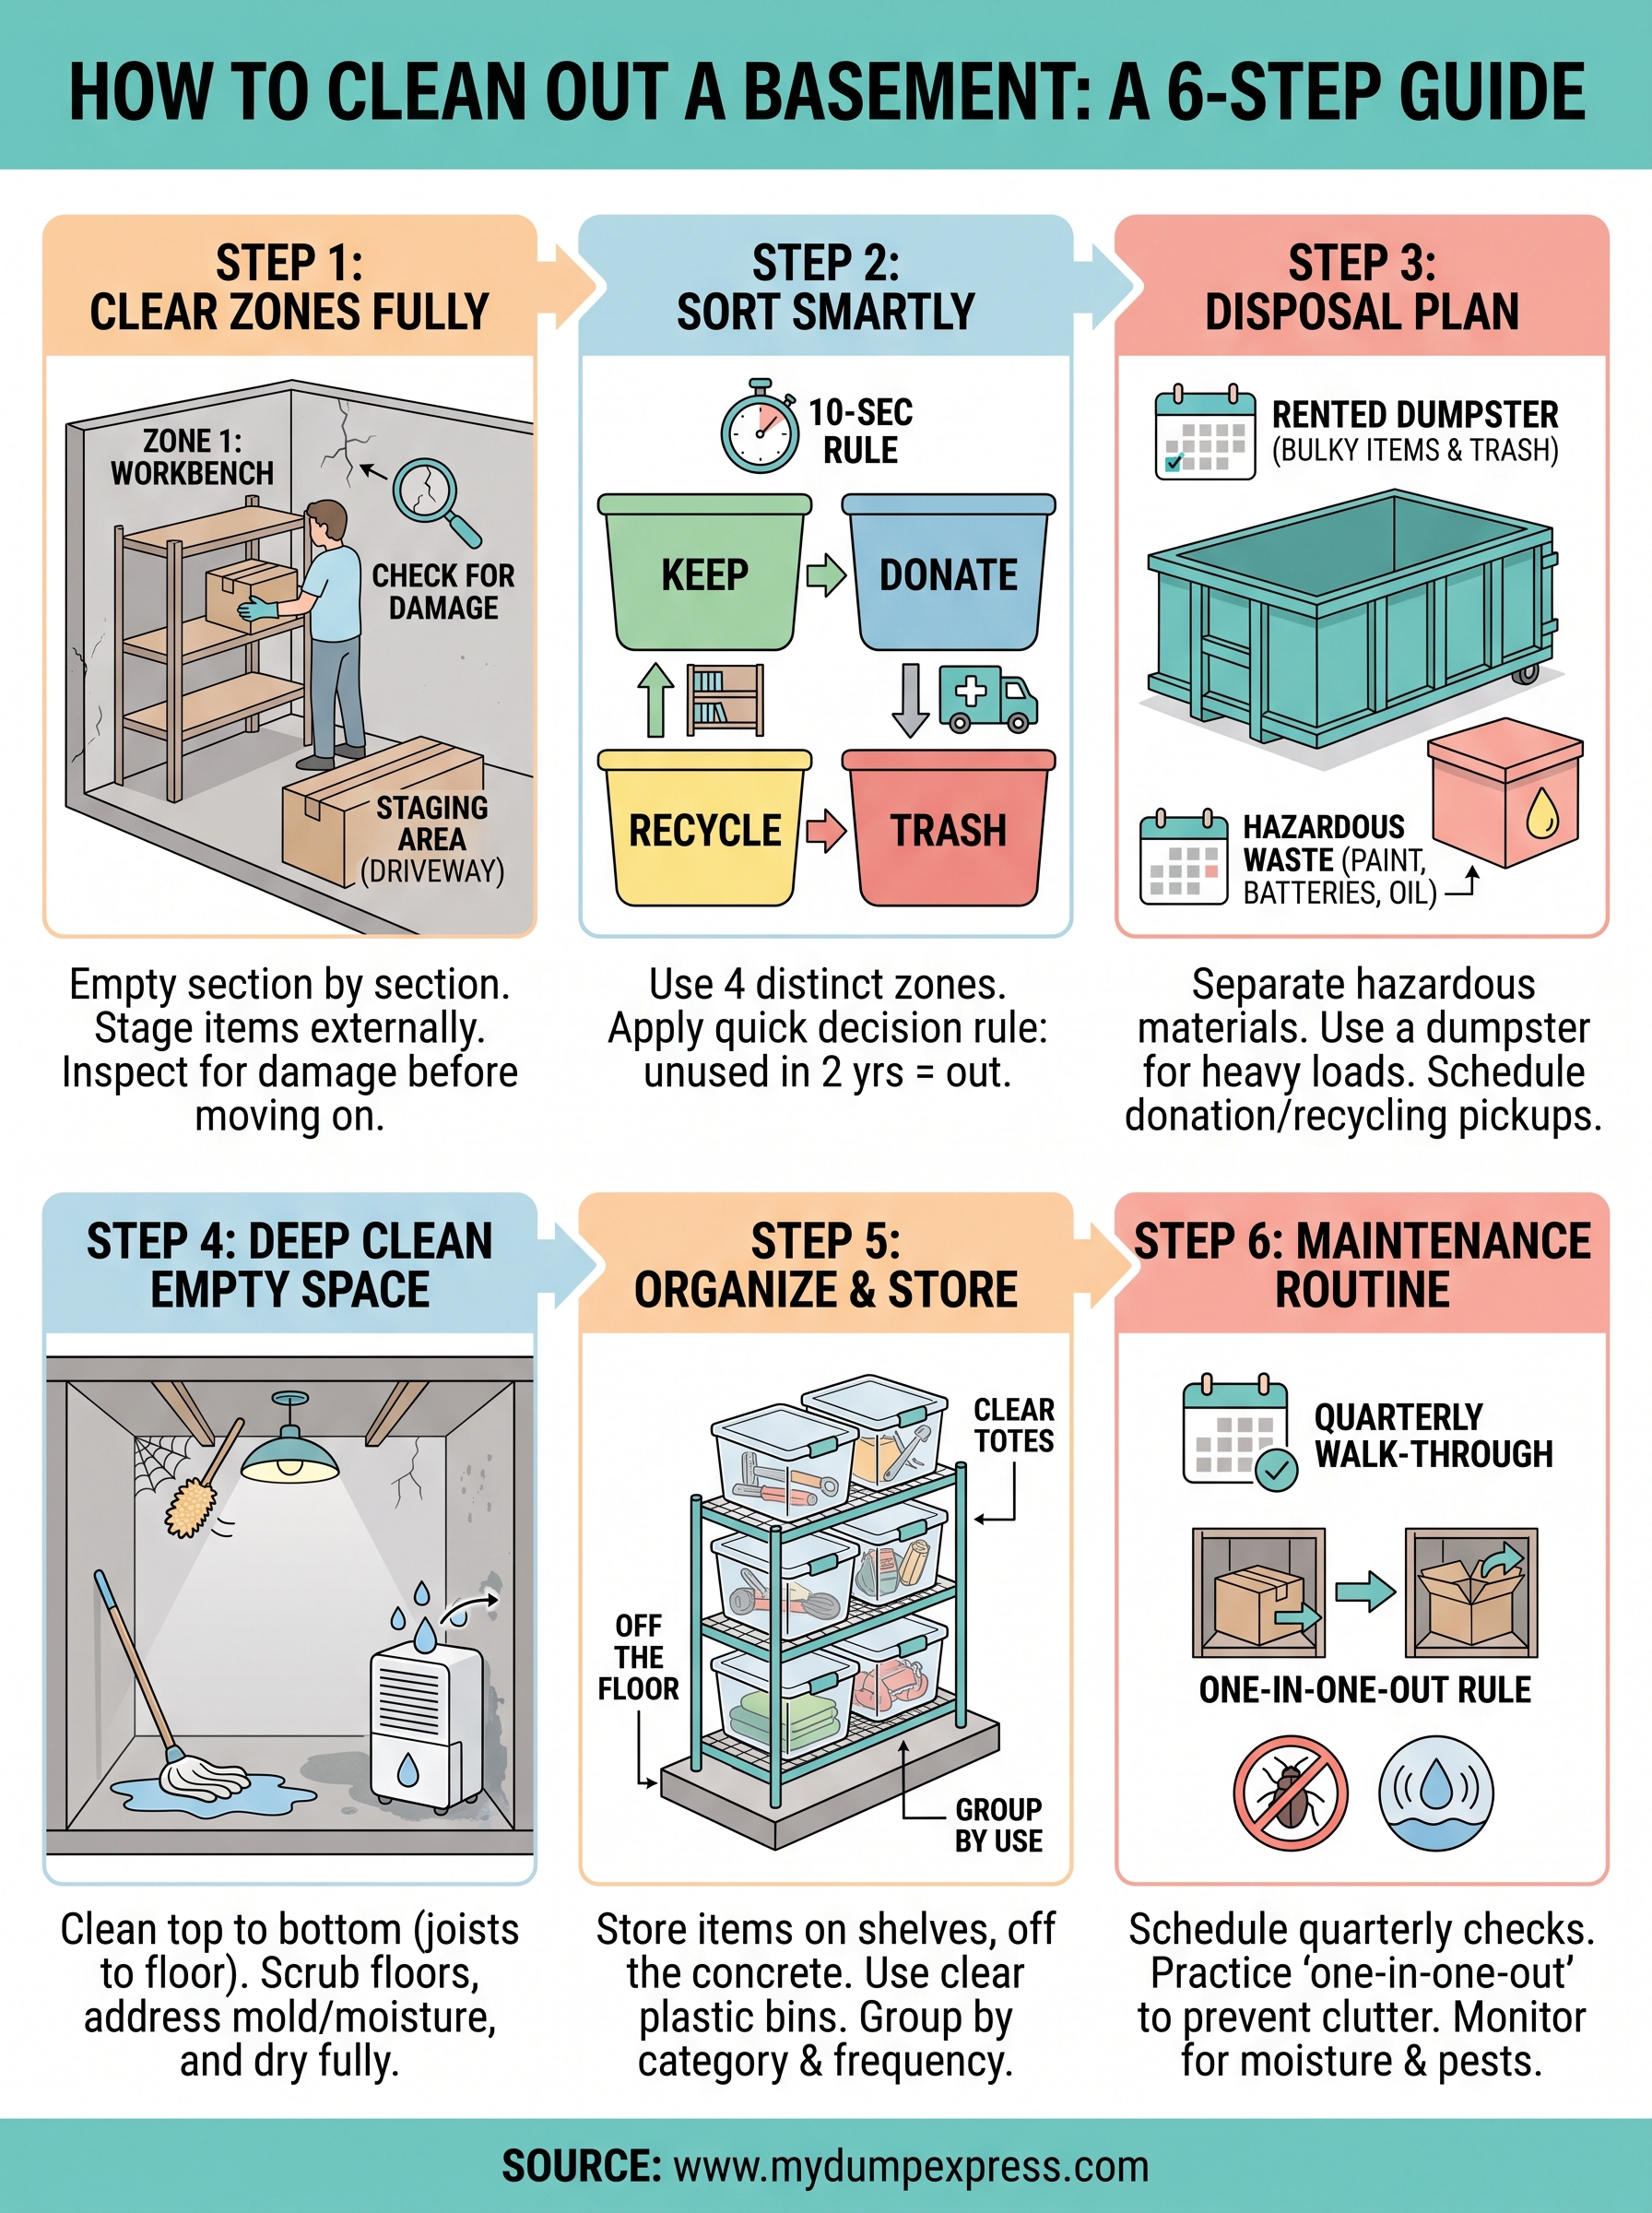
Step 1. Clear the basement section by section
Don’t start grabbing random items from wherever you happen to be standing. Working section by section keeps you from getting overwhelmed halfway through and losing track of what you’ve already checked. Pick a starting corner, usually the one farthest from the stairs, and commit to clearing it completely before you move to the next zone.
Break the basement into zones
Walk the basement first and mentally divide it into manageable areas, like shelving units, the space under the stairs, the workbench corner, and any closets or crawl spaces. Tackling a full room at once is what makes people quit after an hour. Smaller zones give you a finish line you can actually see.
- Shelving and storage racks
- Under-stairs storage
- Workbench or tool area
- Closets and small storage rooms
- Open floor space and furniture
- Crawl spaces or utility corners
A basement gets cleared one zone at a time, never all at once.
Pull everything out before you decide anything
Once you’re in a zone, remove every item and place it in a clear staging area, ideally the driveway, garage, or an empty room upstairs with good light. Emptying the space fully matters because basements hide damage behind boxes and under furniture legs. You can’t spot a cracked foundation wall, a rusted pipe, or a patch of mold if a stack of totes has been sitting in front of it for six years.
Check the empty section for warning signs before you move on: water stains on the concrete, a musty smell that’s stronger in one corner, or soft, crumbling drywall. Note these spots so you can address them during the deep clean phase later. Take a phone photo if the damage looks serious, since you may need it for an insurance claim or a contractor estimate.
Handle heavy furniture and appliances separately
Set aside couches, dressers, old refrigerators, and workout equipment before you start sorting the smaller stuff. Bulky items slow down every other step if they’re still blocking walkways, and they need a different disposal path than a box of holiday decorations. Move them toward the exit or driveway as soon as the surrounding area is clear, using a dolly and a second person for anything over 50 pounds.
Work through every zone this way, one section fully emptied and staged before you start the next. By the time you’ve cleared the last corner, you’ll have an empty basement and a driveway full of piles ready for sorting, which is exactly where Step 2 picks up.
Step 2. Sort everything into keep, donate, recycle, and trash
With the basement empty and your piles staged in the driveway or garage, the real decision-making starts. Sorting into four clear categories stops you from creating one giant "maybe" pile that you’ll just end up dragging back into the basement. Set up your zones before you touch a single item, so every piece has a home the moment you pick it up.
Set up four physical sorting zones
Mark off four distinct areas with painter’s tape or a sign, and stick to them strictly. Physical separation keeps decisions fast, because you’re not standing there debating where something goes every thirty seconds.
- Keep: items you use regularly or plan to use within the next year
- Donate: usable items you no longer need, in good condition
- Recycle: cardboard, scrap metal, clean plastics, and electronics
- Trash: broken, damaged, or unsalvageable items
Apply a quick decision rule to every item
Pick up each item once and make a call within ten seconds. If you’re still holding a box wondering whether you’ll need that extension cord in three years, you already have your answer, and it’s not "keep."
If you haven’t touched it in two years and it’s not sentimental or seasonal, it doesn’t belong back in your basement.
Ask yourself three questions for anything you’re unsure about: Have I used this in the last 24 months? Does it have real monetary or sentimental value? Would I buy this again today if I didn’t already own it? Two "no" answers means it moves to donate, recycle, or trash.
Handle donations and recyclables the right way
Check donation condition standards before you box things up for a charity pickup, since most organizations reject items that are stained, broken, or missing parts. Call ahead or check the Salvation Army’s donation guidelines if you’re unsure what a specific charity accepts. Sort recyclables by material, cardboard flattened, metal separated from plastic, since mixed loads often get rejected at the transfer station.
Deal with sentimental and uncertain items last
Boxes of photos, kids’ artwork, and family keepsakes slow everyone down if you try to sort them alongside everything else. Set them aside in a fifth, temporary pile and go through them separately once the bulk sorting is done. You’ll make better decisions about a grandparent’s old letters when you’re not also trying to figure out where a broken lamp goes.
Step 3. Get rid of trash, hazardous waste, and bulky items
With your piles sorted, disposal is the part that trips people up. Getting rid of everything takes more planning than throwing bags at the curb, especially when your trash pile includes old paint cans, a busted water heater, or a couch that won’t fit in any car. Match each category to the right disposal path instead of assuming one trip covers it all.
Separate hazardous materials first
Check your trash pile for anything that can’t go in a regular dumpster or curbside bin before you load another thing. Paint, motor oil, propane tanks, old batteries, and pesticides all count as hazardous waste, and most municipal transfer stations handle them through a separate drop-off program, not the general waste stream.
- Paint cans, solvents, and stains
- Motor oil, antifreeze, and fuel
- Batteries (car, rechargeable, and lithium)
- Propane tanks and pesticides
- Old fluorescent bulbs and thermostats
A single can of old paint in the wrong dumpster can turn a routine haul into a rejected load.
Call your town’s public works department or check its website for hazardous waste drop-off dates, since many Cape Cod towns only run these events a few times a year. Set these items aside in their own labeled box so they never accidentally end up mixed in with the rest.
Load the dumpster with everything else
Once hazardous materials are pulled out, the trash and unsalvageable piles go straight into your rented dumpster. Bulky items like mattresses, dressers, and old appliances count toward your dumpster’s weight and volume, so break down furniture where you can to save space, pulling legs off tables and disassembling bed frames.
Appliances with refrigerants, like an old basement fridge or dehumidifier, sometimes carry a separate surcharge or require special handling depending on local rules, so check with your rental company before you toss one in. Dump Express lists town-specific pricing and surcharge details upfront, so you know exactly what an appliance or a mattress costs before pickup day instead of finding out after the fact.
Handle recycling and donation drop-offs
Run your recycling and donation piles to their destinations the same day you finish sorting, if possible. Fresh momentum keeps clutter from creeping back into the basement overnight while you wait for a free afternoon. Schedule a charity pickup for larger donation items like furniture, since most organizations won’t take a couch off your hands the same day you call, and book it a few days ahead so it lines up with your cleanout schedule instead of sitting in the driveway for a week.
Step 4. Deep clean the empty basement
With the dumpster loaded and the floor finally visible, you’ve got a rare shot at cleaning surfaces that have been buried for years. An empty basement is the only time you’ll get easy access to every wall, corner, and floor drain, so don’t rush through this step just because the hard work of hauling feels done.
Sweep, vacuum, and knock down cobwebs first
Start at the ceiling and work down, since dust and cobwebs fall as you clean and you don’t want to redo a floor you already finished. Run a shop vac along joists, light fixtures, and the tops of support beams before you touch the floor itself. Dry debris removal first means your mop water stays clean instead of turning into gray sludge after two swipes.
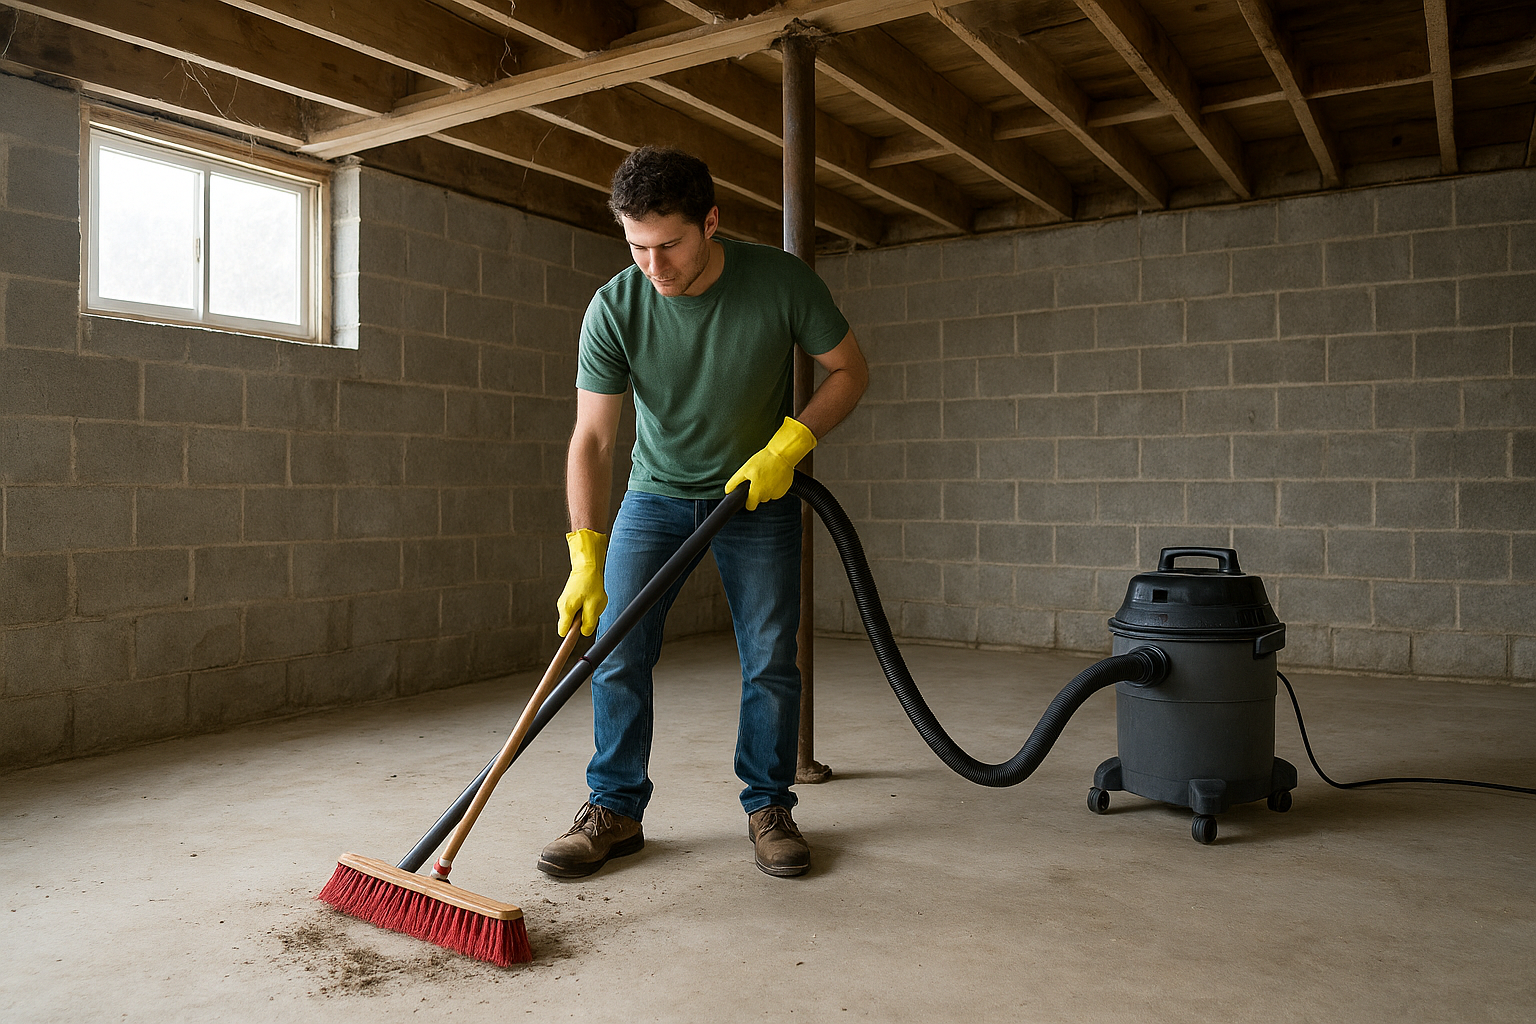
- Vacuum ceiling joists, beams, and light fixtures
- Sweep loose debris toward a central pile
- Wipe down walls and support posts with a dry rag
- Vacuum floor corners and under any built-in shelving
Scrub floors and treat problem spots
Mop concrete floors with a solution of warm water and a basement-safe cleaner, paying extra attention to any stained areas you flagged back in Step 1. If you spotted mold during the clear-out, treat it with a bleach solution (one cup bleach per gallon of water) or a commercial mold remover, and let it sit for ten minutes before rinsing. The CDC’s mold cleanup guidance covers ventilation and protective gear you should use during this step, since bleach fumes build up fast in a low-airflow basement.
A basement that gets scrubbed once every few years stays cleaner for longer than one that gets a quick wipe every month.
Address moisture and odor sources
Run a dehumidifier for a few hours after mopping to pull residual moisture out of the air, especially if the basement felt damp or smelled musty before you started. Lingering odors usually trace back to a specific source, a damp cardboard box residue, an old rug, or a crack letting in groundwater, so track down the smell rather than masking it with an air freshener. Baking soda left in open containers overnight helps absorb what’s left once the obvious source is gone.
Inspect for repairs before you restock
Walk the empty basement one more time and check for anything that needs fixing before boxes go back in: cracked mortar, a loose downspout draining toward the foundation, or a sump pump that hasn’t been tested in years. Handling repairs now, while the space is empty, saves you from pulling everything back out six months later.
Step 5. Organize and store what you keep
Once the basement is clean and dry, bring back only what made it through Step 2’s keep pile. Storing items off the floor protects them from the next flood, leak, or humid summer, so plan your storage system around elevation before you worry about labels or bins. A basement that floods once tends to flood again, and cardboard boxes sitting directly on concrete are the first casualties every time.
Get everything off the floor
Install wire shelving units or heavy-duty plastic shelves that hold items at least four inches above the concrete. Pallets work in a pinch for larger items like holiday decoration totes, but a proper shelving unit lasts longer and holds more weight without sagging.
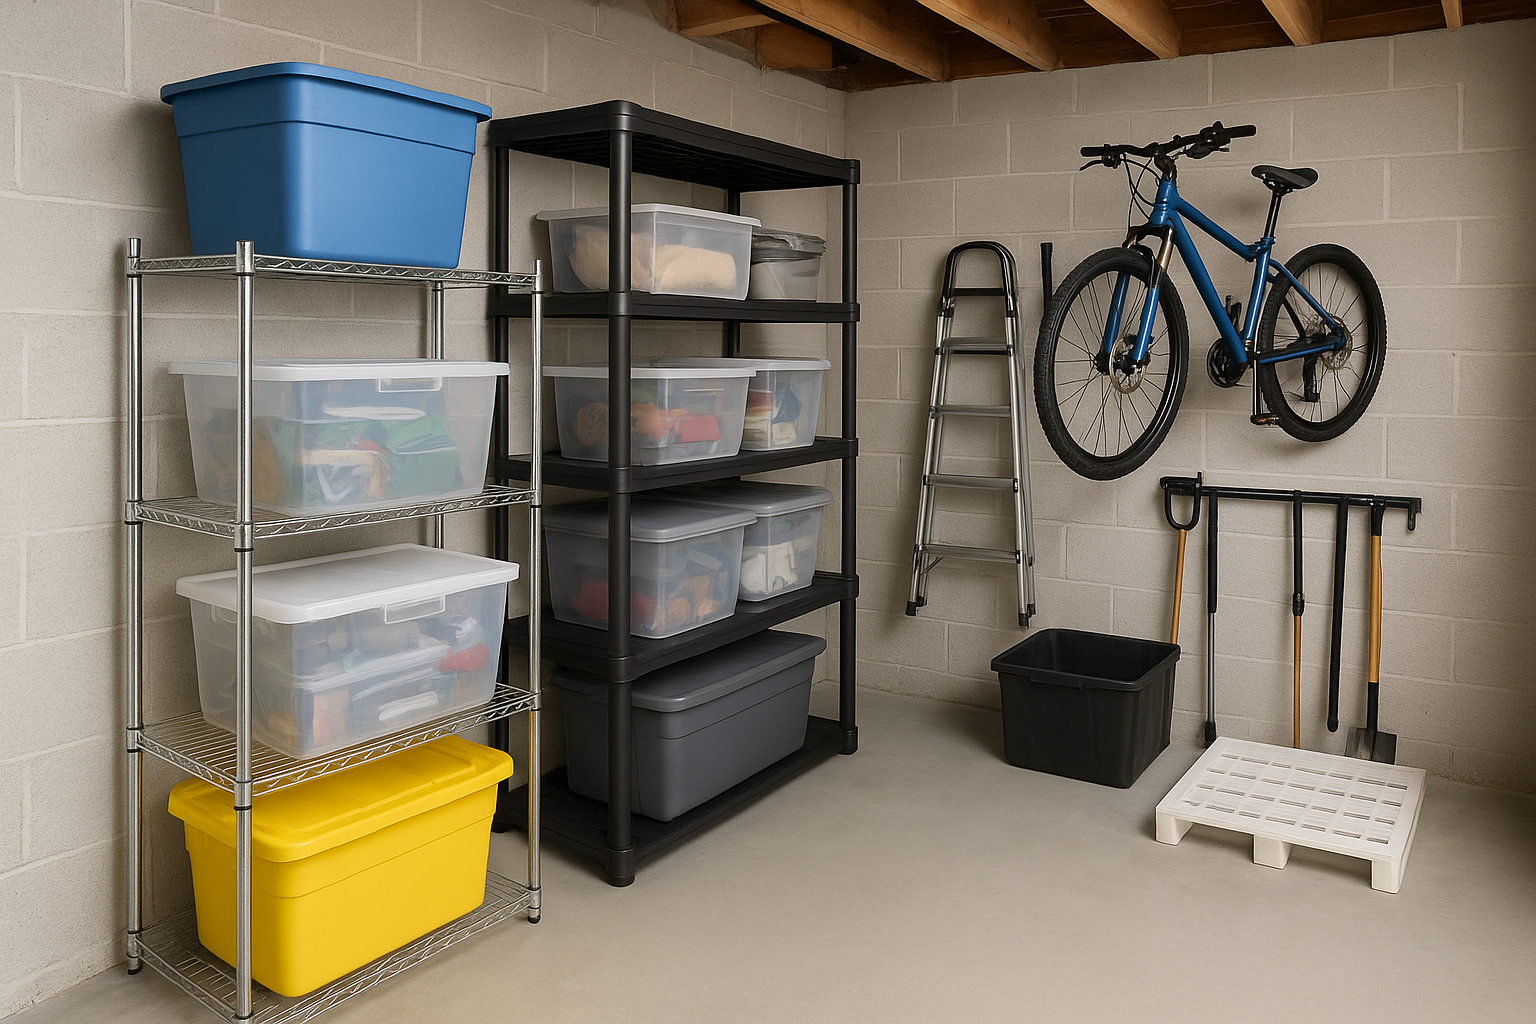
- Wire or plastic shelving units, rated for at least 100 pounds per shelf
- Wall-mounted brackets for bikes, ladders, and tools
- Clear plastic bins instead of cardboard for anything staying long-term
- Pallets or risers for larger items that won’t fit on shelves
Choose containers that survive basement conditions
Cardboard breaks down fast in a space with any humidity, even if you never saw standing water. Clear plastic totes solve two problems at once: they keep moisture and pests out, and you can see what’s inside without pulling every bin off the shelf to check.
A cardboard box in a basement is only ever one humid summer away from becoming a mess you have to redo.
Swap cardboard for totes as you unpack the driveway piles, and label each one on the side, not the top, since basement shelving usually blocks a clear view from above.
Group items by category and frequency of use
Zone your shelving the same way you zoned the clearing process back in Step 1. Keep seasonal decorations, rarely used tools, and sentimental boxes on higher or harder-to-reach shelves, and put things you grab often, like a toolbox or sports gear, at eye level near the stairs.
| Storage zone | What goes there | Access frequency |
|---|---|---|
| Eye-level, near stairs | Tools, sports equipment, everyday supplies | High |
| Mid-height shelving | Seasonal decorations, spare parts | Moderate |
| Top shelves | Keepsakes, rarely used items | Low |
| Wall-mounted racks | Bikes, ladders, long-handled tools | Moderate |
This kind of grouping means you’re not hauling down five totes to find the one with Christmas lights every December.
Step 6. Set up a simple maintenance routine
A clean basement stays clean only if you build a routine around it. Regular check-ins take fifteen minutes and stop small problems, one stray box, a slow leak, a forgotten donation bag, from turning into next year’s full weekend project. Treat this step as the payoff for everything you just did, not an optional extra.
Schedule a quarterly walk-through
Block fifteen minutes every three months to walk every zone you cleared in Step 1. Check shelving for anything that’s crept back onto the floor, glance at walls and corners for new staining, and confirm the dehumidifier and sump pump are still running. Quarterly walk-throughs catch a slow leak or a pest problem while it’s still a five-minute fix instead of a weekend one.
- Check floor and wall corners for new moisture stains
- Confirm shelving items haven’t shifted or fallen
- Test the sump pump and dehumidifier
- Scan for signs of mice, spiders, or other pests
- Note anything that needs a repair follow-up
Set a one-in-one-out rule
Before anything new goes onto a shelf, something else has to leave. This one-in-one-out habit is the single biggest reason basements stay organized for years instead of months, because clutter never gets the chance to build back up in layers the way it did before.
A basement only stays organized when something leaves every time something arrives.
Apply the rule to holiday decorations especially, since that’s where most basements quietly refill first. If last year’s ornaments box is full, retire the oldest or most damaged pieces before you add this year’s.
Watch for moisture and pests year-round
Moisture and pests undo an organized basement faster than clutter ever will. Inspect your storage totes every few months for condensation on the inside of the lid, a sign your basement’s humidity has crept up again. Pests tend to show up first near the floor, so check the base of your shelving units and any wall-mounted racks during each walk-through.
Keep a small log, even just a note on your phone, of what you find each quarter. Patterns matter here: a stain that reappears in the same corner every spring points to a drainage issue worth fixing properly instead of mopping up again next year.
Enjoy your clutter-free basement
You’ve cleared every zone, sorted the piles, hauled off the trash, and scrubbed a floor that hadn’t seen daylight in years. That’s the hard part, and it’s behind you now. A clean basement isn’t a one-time win, it’s the foundation for a space you actually use again, whether that’s a workshop, a gym, or just storage that doesn’t make you dread opening the door.
Stick with the maintenance routine from Step 6 and you’ll never face a weekend-long cleanout like this one again. Small check-ins beat big overhauls every time.
If your basement clean-out produced more debris than your car can handle, don’t waste a weekend on multiple dump runs. Get a dumpster rental quote from Dump Express and have the right size delivered to your Cape Cod or Plymouth driveway, often the same day you call.