
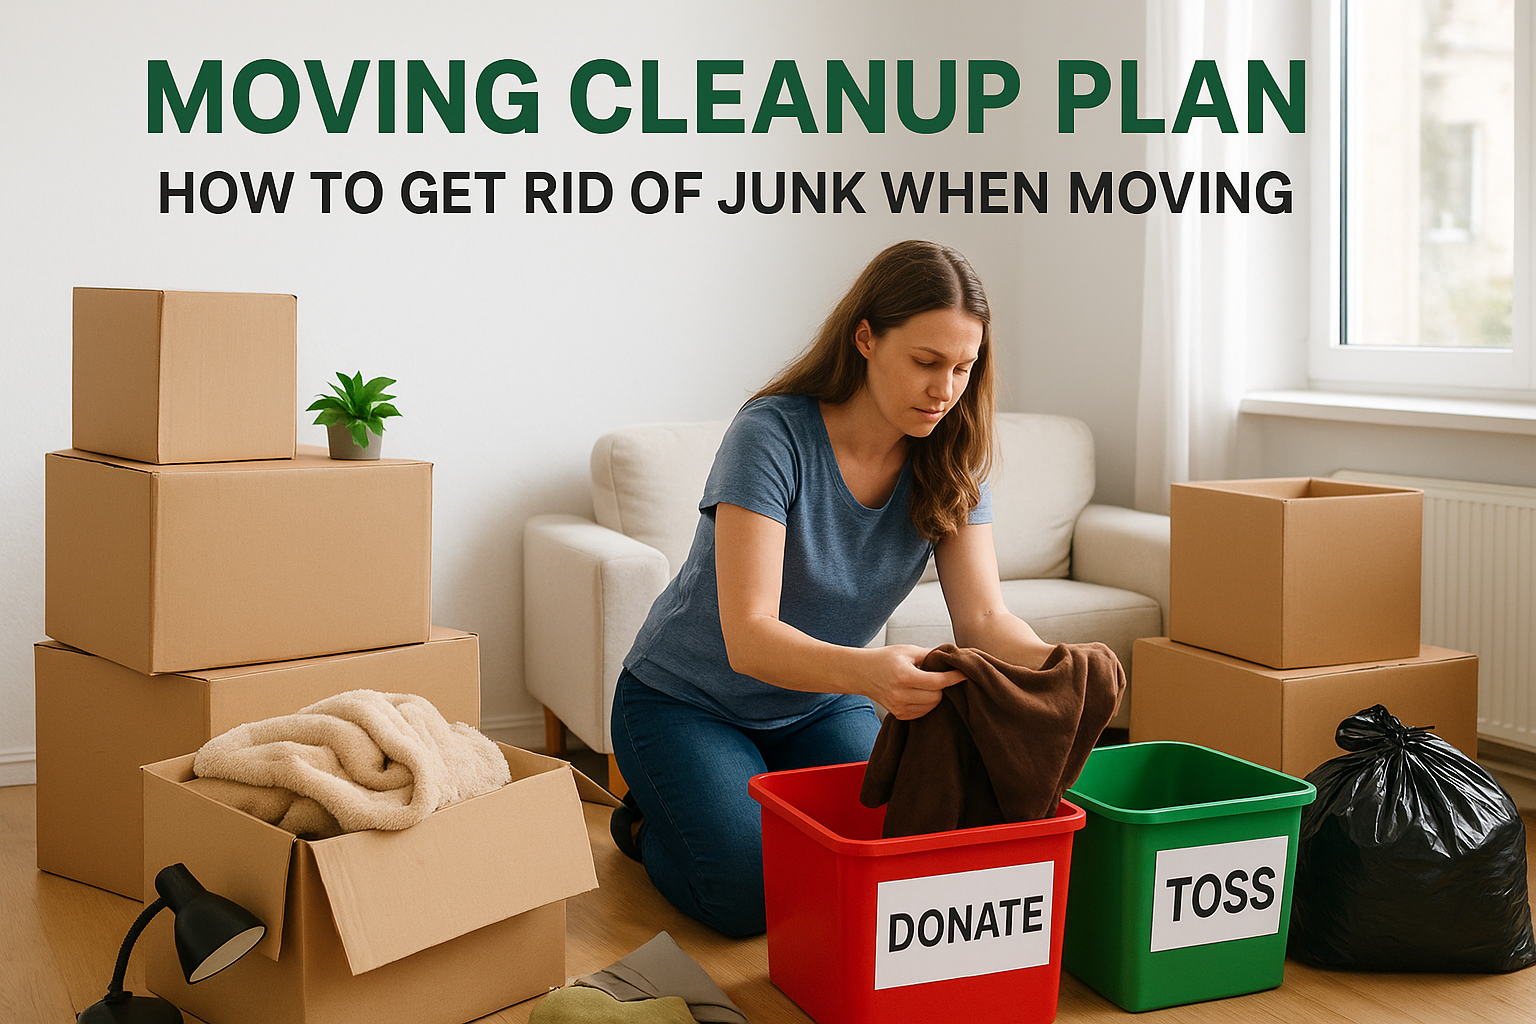
Every move starts with the same realization: you own way more stuff than you thought. Boxes pile up, closets overflow, and suddenly that garage full of "I’ll deal with it later" items demands your attention. Figuring out how to get rid of junk when moving doesn’t have to be chaotic, but without a plan, it usually is. Most people underestimate how much they need to purge, and how long it actually takes to sort, haul, and dispose of everything properly.
The good news? A clear, step-by-step approach makes the whole process manageable. You just need to know what to toss, what to donate, what to sell, and how to handle the stuff that doesn’t fit in a trash bag. For the bulk of it, old furniture, broken appliances, renovation debris, a dumpster rental from a local company like Dump Express takes the guesswork out of disposal. We drop it off, you fill it up, we haul it away. Simple.
This guide walks you through a practical moving cleanup plan from start to finish. You’ll get a room-by-room approach to decluttering, timelines to keep you on track, and disposal options for every type of junk you’ll encounter. Whether you’re downsizing, relocating across Cape Cod, or just finally tackling years of accumulated stuff, this is your roadmap to moving lighter.
Before you start, set rules and a deadline
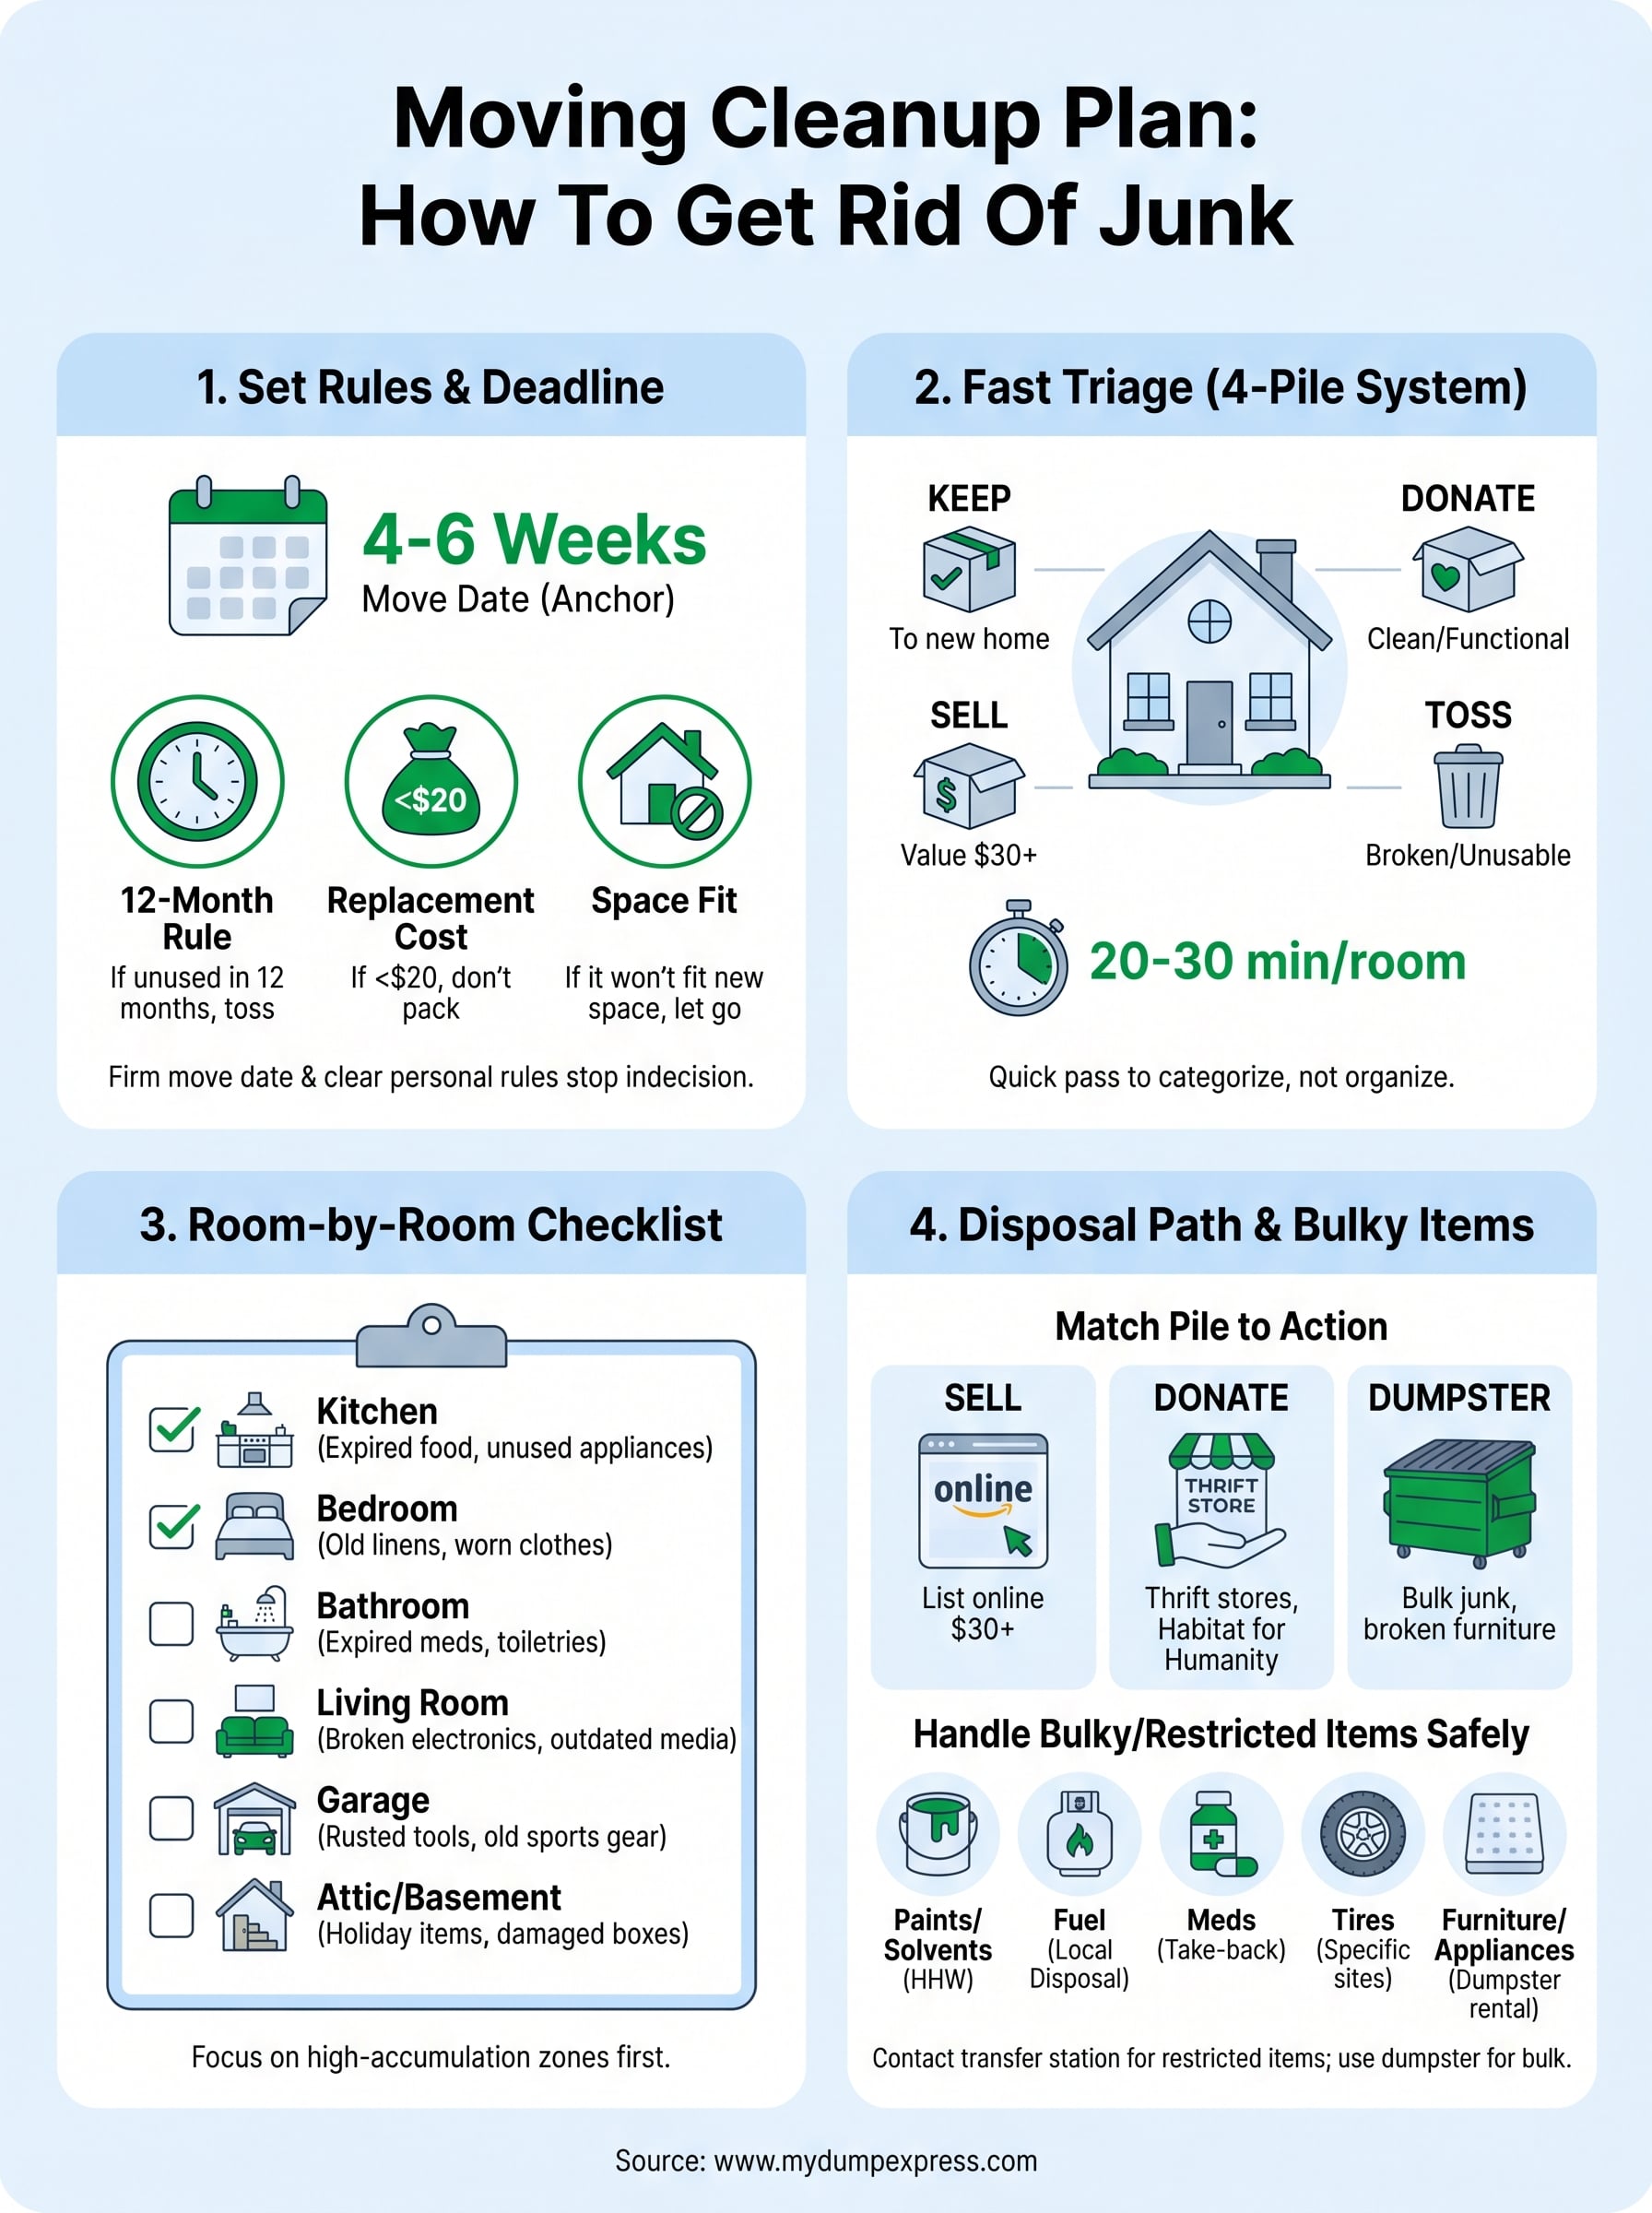
Jumping into a cleanout without a framework costs you time and energy you don’t have during a move. Before you touch a single box, you need two non-negotiable things in place: a firm, written move date and a clear set of personal rules that govern how you judge every item you encounter. Without both, you’ll spiral into hours of indecision, and you’ll likely drag a lot of unnecessary clutter to your new home simply because you ran out of time to deal with it properly.
Your move date is your anchor. Every sorting session, donation run, and disposal booking flows backward from that one date.
Pick your move date and work backward
Once you have a confirmed move date, build a phased cleanup schedule working backward from it. Most people underestimate how long a full-home purge actually takes. A three-bedroom house with a garage or attic realistically needs four to six weeks if you’re doing it right. A one or two-bedroom space with less accumulation can work in two to three weeks, but only if you stay consistent and don’t skip sessions.
Here’s a practical timeline template you can copy and adjust:
| Weeks Before Move | Focus |
|---|---|
| 4+ weeks out | Sort every room; make keep, donate, sell, and toss piles |
| 3 weeks out | List items for sale; drop off donations |
| 2 weeks out | Book your dumpster rental for bulk junk removal |
| 1 week out | Final sweep; confirm all pickup and haul-away schedules |
| Move week | Clear last items; dumpster gets picked up |
Booking your dumpster at the two-week mark gives you a buffer. If you need it a few extra days, you have time to arrange an extension rather than scrambling at the last minute when everything else is also demanding your attention.
Set three rules before you touch a single item
Your biggest obstacle in any cleanout is decision fatigue. Without a pre-set framework, every item becomes its own debate. You’ll pick up a box, feel uncertain, set it aside, and come back to it three more times. To avoid that, write down three firm rules before you start and post them somewhere visible during every sorting session.
Use this framework:
- If you haven’t used it in 12 months, it goes.
- If it costs less than $20 to replace, don’t pack it.
- If it won’t suit or fit your new space, let it go now.
Knowing how to get rid of junk when moving is really about making fast, consistent decisions before hesitation kicks in. These three rules give you a repeatable answer for the vast majority of items you’ll encounter, so you spend less time second-guessing and more time making real progress through each room.
Step 1. Do a fast triage of everything you own
Before you sort room by room, you need a bird’s-eye view of the full scope of what you own. Triage is a quick pass through every space in your home with a single goal: assign each item to one of four categories before you spend any real time on it. This step keeps you moving fast and prevents you from getting stuck in one room for hours while the rest of the house stays untouched.
Use a four-pile system
Set up four labeled zones in each room you work through. Physical labels help, whether on boxes, bags, or floor tape, because they remove any ambiguity when you’re moving quickly through a space. Here are your four categories:

- Keep: Goes to the new home, no debate.
- Donate: Clean, functional items someone else can use.
- Sell: Items with enough value to list online or at a yard sale.
- Toss: Broken, stained, expired, or otherwise unusable items.
If you can’t assign an item to a pile in under 10 seconds, it belongs in the Toss pile.
Move fast on the first pass
Your first pass through each room should take no more than 20 to 30 minutes per space. You’re not organizing yet, you’re categorizing. Resist the urge to clean, stack, or sort within the piles while you triage.
Once you understand how to get rid of junk when moving, the triage step is where chaos turns into a trackable process. Slow decisions on the first pass drain your energy before the real work starts. Keep moving, trust your rules from the previous section, and come back to anything complicated only after every room has a completed set of four piles.
Step 2. Use a room-by-room purge checklist
Once your triage piles exist, the real sorting begins. Working room by room keeps you focused and measurable, since finishing one space feels like real progress and stops the overwhelm that comes from treating the whole house as one giant task. This is where knowing how to get rid of junk when moving shifts from a mindset to a physical system.
Focus on high-accumulation zones first
Not every room gives you equal return on time spent. Garages, attics, basements, and storage closets almost always hold the most volume of junk, so hit those spaces early when your energy and motivation are highest. Kitchens and home offices tend to have dense but smaller items that slow you down if you tackle them while mentally drained.
Clearing your highest-junk zones first also frees up floor space to stage donation and haul-away piles as you work through the rest of the home.
Use this room-by-room checklist
Each room has predictable problem areas. Run through this checklist to make sure you don’t miss common junk hotspots that people routinely pack by accident:
| Room | What to target |
|---|---|
| Kitchen | Expired food, duplicate tools, appliances unused in 12+ months |
| Bedroom | Old linens, worn clothing, furniture that won’t fit new space |
| Bathroom | Expired medications, old toiletries, worn towels |
| Living room | Broken electronics, outdated media, furniture you don’t love |
| Garage | Rusted tools, paint cans, sports gear not used in years |
| Attic/Basement | Holiday items you’ve skipped using, water-damaged boxes, mystery bags |
Work through each row as a single focused session rather than combining rooms. Mark each line complete before moving to the next space so nothing gets accidentally skipped during a busy moving week.
Step 3. Choose the right disposal path
Once your piles are sorted, every category needs a specific outlet or it stalls in your hallway for two weeks. Matching each pile to the right disposal method saves you time and prevents last-minute scrambling when your move date closes in.
Sell, donate, or toss: match each pile to an action
For selling, focus only on items worth $30 or more. Listing on Facebook Marketplace works well for furniture, electronics, and tools. Set a firm deadline: if it hasn’t sold five days before your move, drop it off as a donation or toss it. Don’t let a slow sale delay your timeline.
Donating is faster than selling and still keeps usable items out of the landfill. Drop clothing, kitchenware, and furniture in good condition at local thrift stores or Habitat for Humanity ReStores. Call ahead for large furniture since many locations require scheduling a pickup window in advance.
If an item isn’t clean and fully functional, only donate it if you’d honestly feel comfortable giving it to someone you know.
Use a dumpster for everything else
For the toss pile, especially when it includes bulky furniture, broken appliances, or large volumes of general debris, a rented dumpster is the most efficient solution. Knowing how to get rid of junk when moving means recognizing when individual trips to the transfer station simply cost you more in time and fuel than a single dumpster rental covers. You load it on your schedule, and the company hauls it when you’re done.
| Disposal path | Best for |
|---|---|
| Sell | High-value items worth $30+ |
| Donate | Clean, functional goods |
| Dumpster rental | Bulk junk, broken items, large volumes |
Step 4. Handle bulky and restricted items safely
Not everything in your toss pile can go into a standard dumpster, and not everything large can simply be left at the curb. Bulky items and restricted materials require specific handling steps, and skipping this part of how to get rid of junk when moving can cost you extra fees or create real safety and legal problems. Identifying these items early gives you enough time to arrange proper disposal before your move date arrives.
Know which items need special handling
Some materials are banned from residential dumpsters and municipal trash pickups entirely. Disposing of restricted items incorrectly can result in surcharges, rejected loads, or fines depending on your town’s regulations. Identify these in your toss pile before booking any haul-away service.

Common restricted items include:
- Paints, solvents, and chemicals: Bring these to a local household hazardous waste (HHW) drop-off event or facility.
- Propane tanks and fuel containers: Contact your municipality for accepted disposal locations.
- Medications: Use an FDA-approved drug take-back location rather than putting them in the trash.
- Tires: Many auto shops and transfer stations accept these separately for a small fee.
- Mattresses: Some towns require separate scheduling; donation or mattress recyclers are often the faster route.
Contact your local transfer station before move week to confirm which restricted items they accept and what the drop-off process looks like.
What to do with large furniture and appliances
Heavy furniture and large appliances that won’t sell in time are best handled through a dumpster rental, especially when you have several pieces to clear at once. Loading them yourself on your own schedule is far more practical than coordinating multiple individual pickup appointments during an already compressed moving timeline.
Wrap-up and next step
Knowing how to get rid of junk when moving comes down to four things: setting a firm deadline, triaging fast, working room by room, and matching every item to the right disposal path. The steps in this guide give you a repeatable system you can start using today, regardless of how much you’ve already accumulated or how close your move date is.
Your biggest risk at this point is waiting too long to book disposal for the bulk junk. Dumpster availability fills up, especially during peak moving season, and scrambling for a last-minute solution during move week adds stress you don’t need. If you’re moving anywhere on Cape Cod or in the Plymouth area, book a dumpster rental with Dump Express now so your haul-away schedule is locked in before the rest of your move gets complicated.