
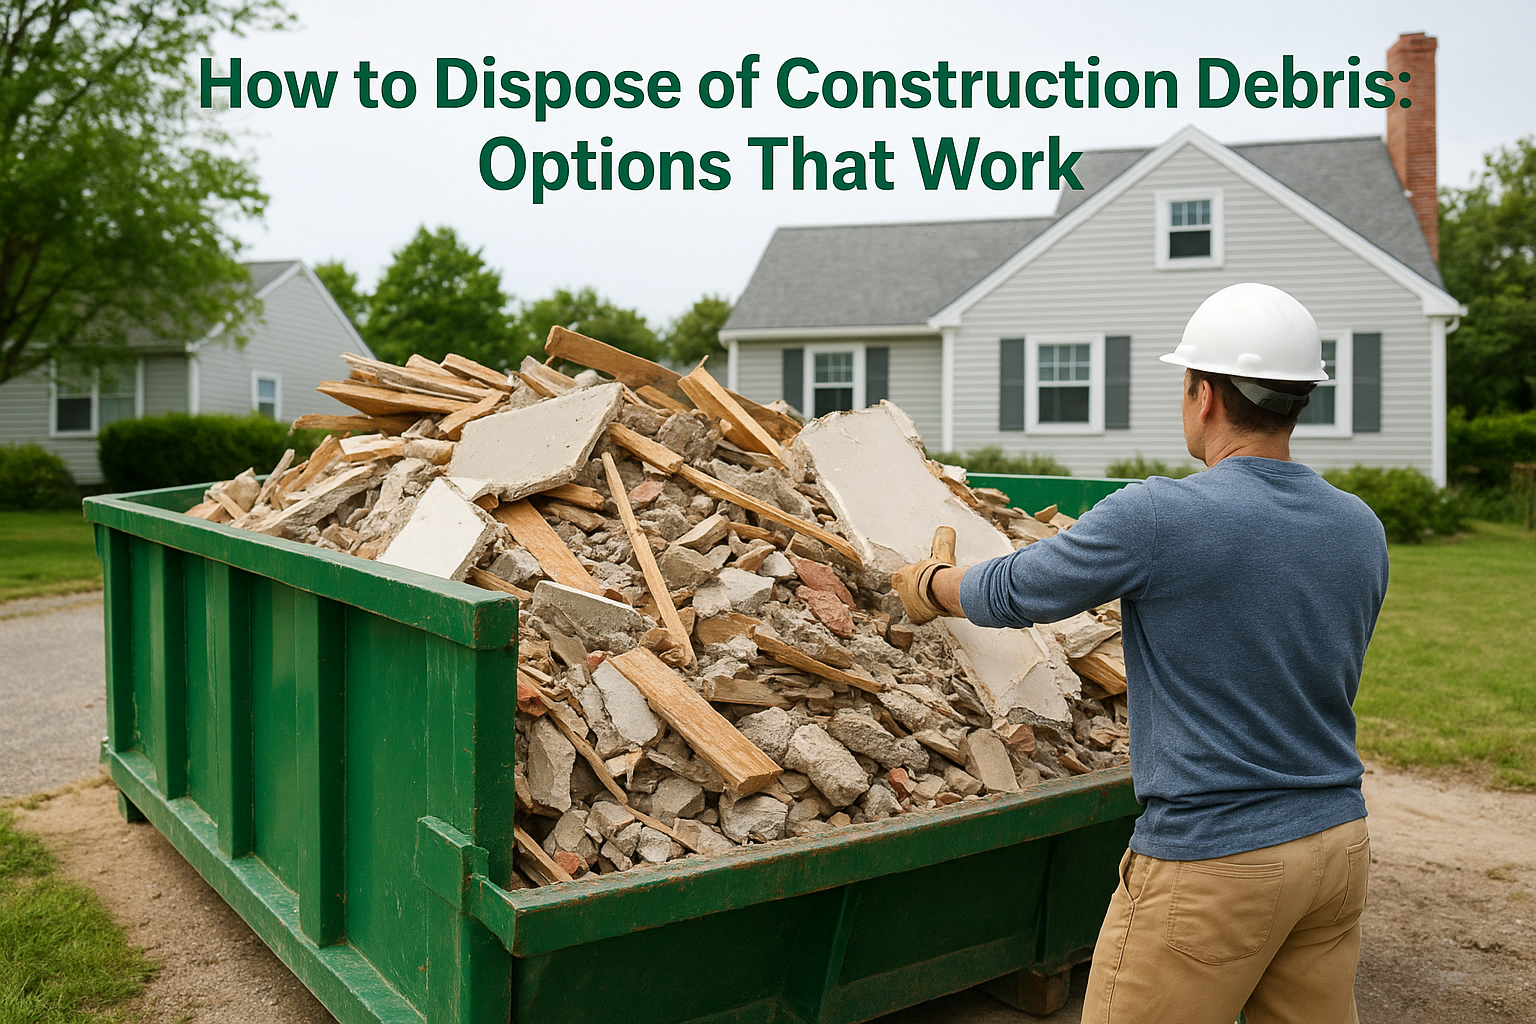
A demo day or a bathroom gut job leaves you staring at a pile of drywall, lumber, and shingles that won’t fit in your regular trash cans. Figuring out how to dispose of construction debris the right way matters more than most homeowners realize, because towns across Cape Cod and Plymouth have specific rules about what disposal facilities will accept, and getting it wrong means fines, rejected loads, or a truck full of trash with nowhere to go. Local regulations vary block by block, so what works in Barnstable might not fly in Bourne.
The short answer: your best options are a roll-off dumpster rental, a trip to your town’s transfer station, or a specialized drop-off facility for certain materials like shingles or concrete. Which one makes sense depends on your project size, timeline, and how much sorting you’re willing to do yourself.
This guide breaks down each method, what it costs, and when it actually makes sense for your job. We’ll cover dumpster sizing for different project types, how municipal drop-off programs work across Cape Cod towns, which materials require special handling, and how to avoid the surprise fees that catch homeowners off guard. By the end, you’ll know exactly which disposal route fits your renovation, cleanout, or new build.
What counts as construction debris
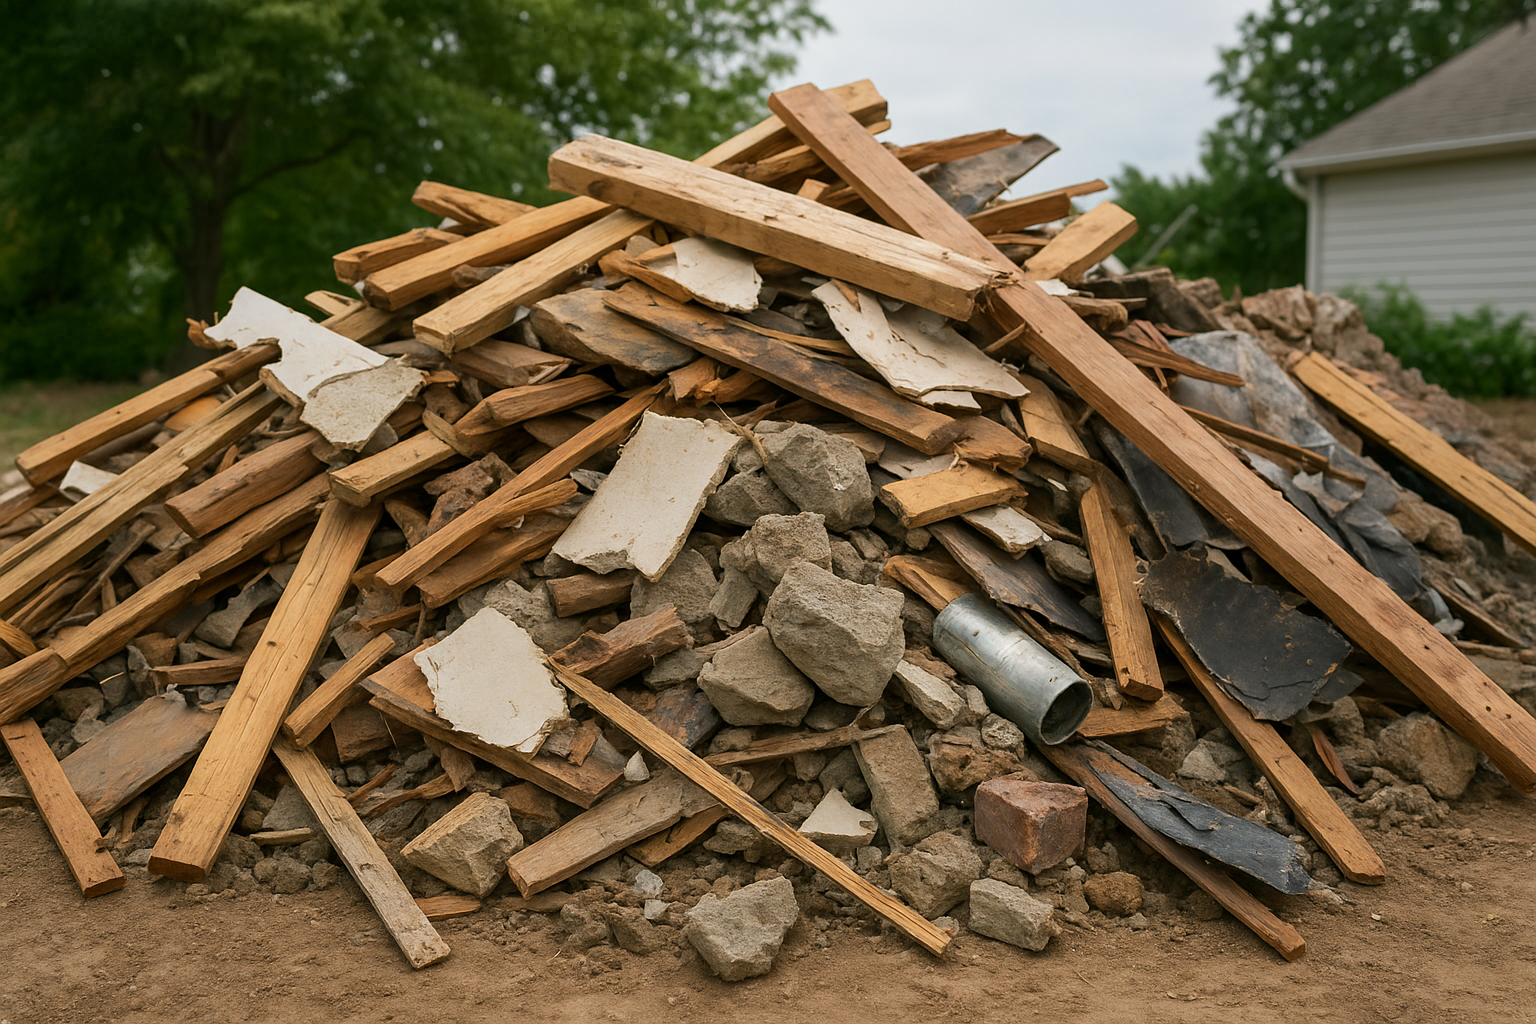
Most homeowners picture drywall scraps and busted lumber when they think about construction and demolition debris, but the category is broader than that. It covers just about anything generated by building, renovating, or tearing down a structure: framing lumber, roofing shingles, concrete chunks, brick, siding, flooring, cabinetry, plumbing fixtures, and even the dirt and rocks left over from a foundation dig. If your project involved a hammer, a saw, or a dumpster truck backing into your driveway, whatever’s left over almost certainly falls into this bucket.
Common materials you’ll find in a debris pile
Here’s a quick reference for the materials that typically show up on a job site and get hauled away as construction debris:
| Material Category | Examples |
|---|---|
| Wood | Framing lumber, plywood, trim, old decking |
| Drywall | Sheetrock, plaster, joint compound scraps |
| Roofing | Asphalt shingles, underlayment, flashing |
| Masonry | Concrete, brick, block, stucco |
| Metal | Rebar, ductwork, pipe, siding, gutters |
| Flooring | Tile, carpet, hardwood, vinyl, subfloor |
| Fixtures | Cabinets, sinks, toilets, doors, windows |
Knowing which bin these materials fall into matters because most transfer stations and dumpster services in Cape Cod and Plymouth sort or price differently depending on the category. Concrete and shingles, for instance, often get diverted to separate recycling streams instead of a general debris pile.
What doesn’t count as standard debris
Not everything you pull out of a renovation belongs in a construction debris load. Hazardous materials like asbestos siding, lead paint chips, old oil tanks, and certain insulation types require specialized handling and can’t legally go into a standard roll-off dumpster or municipal transfer station load. Appliances, tires, and electronics usually get treated as separate categories too, often with their own drop-off points or recycling fees at Cape Cod transfer stations.
If a material needs a hazmat suit or a special permit to remove, it’s not going in your dumpster.
Yard waste is another gray area. Branches, stumps, and soil from landscaping work sometimes get lumped in with construction debris, but many towns handle organic waste through a completely different composting or brush drop-off program. Mixing yard waste into a load meant for building materials can get your entire dumpster rejected at the facility, which means paying twice for the same haul.
Why the distinction matters before you start
Getting this sorted out before your project begins saves you real money and headaches later. A contractor or homeowner who assumes "debris is debris" often ends up with a rejected load, an unexpected surcharge, or a truck sent back because it contained a mattress, a propane tank, or a chunk of asbestos shingle mixed in with the lumber. Local haulers like Dump Express flag prohibited items upfront specifically to prevent that kind of surprise, since a rejected load at the transfer station means rescheduling pickup and paying again. Understanding what actually qualifies as debris disposal material, versus what needs a separate path entirely, is the foundation for every decision you’ll make in the steps below.
Step 1. Sort debris by material type
Once your project wraps, resist the urge to toss everything into one pile. Sorting debris by material at the source saves you money because mixed loads often cost more per ton at transfer stations than clean, separated loads. Concrete, wood, and metal each have different disposal paths on Cape Cod, and some materials, like clean cardboard or scrap metal, can even be recycled for free or sold instead of hauled away at a cost.
Set up separate piles as you work
Contractors who sort as they go, rather than after the fact, save hours of labor later. Try setting up designated zones on site before demolition starts:
- Wood and lumber: framing, plywood, trim scraps
- Metal: pipe, rebar, siding, ductwork, gutters
- Masonry: concrete, brick, block
- Drywall and plaster: sheetrock scraps, joint compound
- Mixed debris: anything that doesn’t fit a clean category
Giving each pile its own tarp, bin, or corner of the yard keeps materials from cross-contaminating, which matters a lot when a transfer station charges different rates for sorted loads versus mixed ones.
Why sorting affects your bottom line
Many Cape Cod and Plymouth transfer stations charge less per ton for clean concrete or shingles because those materials get recycled into aggregate or new roofing product instead of landfilled. A mixed dumpster full of wood, drywall, and metal tangled together usually gets billed at the higher general debris rate, even if half the load could’ve been recycled cheaply.
Sorting on site costs you a little time upfront, but it almost always costs less at the scale house.
Homeowners running a single small job might not need this level of organization, but anyone tackling a full renovation, addition, or demolition benefits from it. If you’re renting a dumpster, ask your provider whether they offer separate containers for concrete or shingles specifically, since a lot of local haulers price those materials differently than general construction waste. Getting this step right before the truck arrives sets up everything that follows, from estimating volume to picking the right disposal method for your job.
Step 2. Estimate how much debris you have
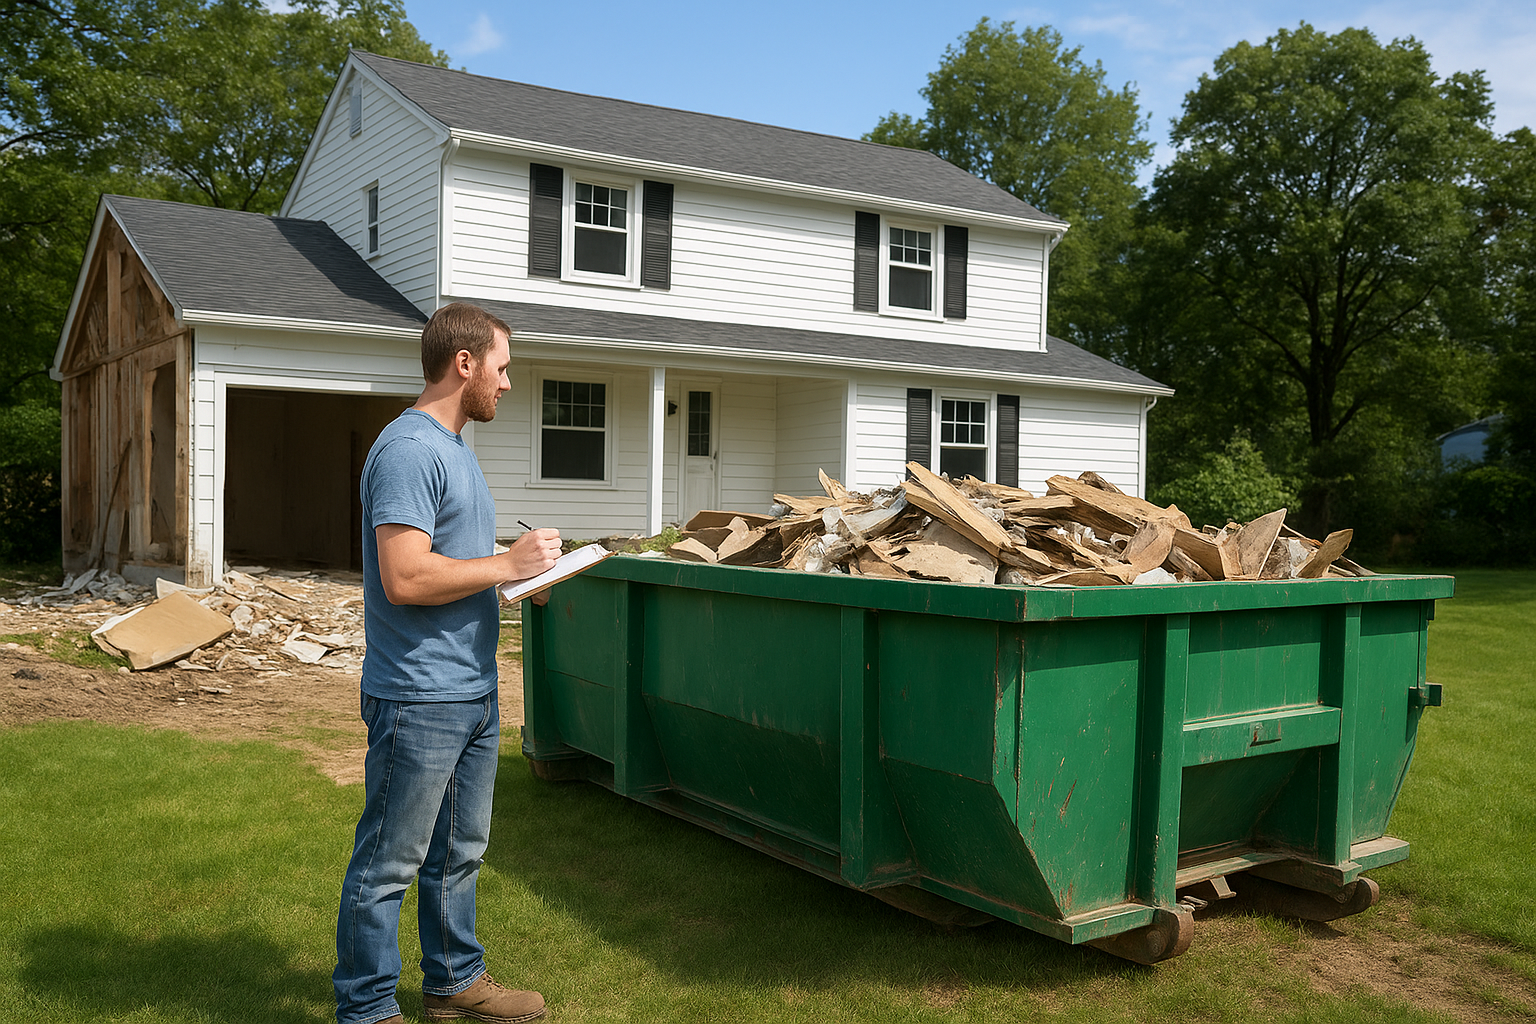
Before you call anyone about a rental, walk your project and make a rough volume estimate. Estimating debris volume wrong is the single biggest reason homeowners either overpay for a dumpster twice the size they needed or end up ordering a second one halfway through the job. A good estimate takes into account square footage, material density, and whether you’re demoing down to the studs or just swapping fixtures.
Match project size to dumpster capacity
A simple bathroom remodel generates a fraction of the debris a full kitchen gutting or roof tear-off produces, so matching your dumpster size to the actual scope saves money on both ends. Use this as a starting reference point for typical Cape Cod projects:
| Project Type | Typical Debris Volume | Recommended Dumpster |
|---|---|---|
| Bathroom remodel | 2-4 cubic yards | 5-yard |
| Roof replacement (avg. home) | 8-12 cubic yards | 10 to 15-yard |
| Kitchen renovation | 6-10 cubic yards | 10-yard |
| Whole-house cleanout | 15-20 cubic yards | 15 to 20-yard |
| New construction/addition | 20+ cubic yards | 20-yard |
These numbers shift depending on how much demolition versus finishing work is involved, so when in doubt, size up slightly rather than risk a rejected overfilled load.
Weight matters more than volume for heavy materials
Concrete, brick, and shingles fill a dumpster fast in terms of weight even when they barely cover the floor of the container. A 10-yard dumpster full of shingles can hit its weight limit long before it looks full, which triggers overage fees that catch a lot of homeowners off guard. Local haulers set weight caps per size specifically because heavy debris and light debris behave completely differently in a roll-off container.
A dumpster that looks half empty can still be at its weight limit if it’s full of concrete or shingles.
If your project mixes heavy masonry with lighter framing and drywall, ask your provider about weight allowances before you book, not after the truck’s already been loaded and weighed at the scale house.
Step 3. Choose the right disposal method
With your debris sorted and roughly measured, the next decision is picking the right hauling option for your project. Construction debris removal on Cape Cod generally comes down to three practical choices: renting a roll-off dumpster, hauling loads yourself to a transfer station, or using a specialized drop-off facility for materials like shingles or concrete. Each option fits a different combination of project size, timeline, and how much labor you’re willing to put in yourself.
Compare your main options
Here’s how the three most common routes stack up for a typical Cape Cod renovation or demolition project:
| Method | Best For | Trade-offs |
|---|---|---|
| Roll-off dumpster rental | Multi-day renovations, demolitions, whole-house cleanouts | Requires driveway or curb space, rental period limits |
| DIY trips to transfer station | Small jobs, single-material loads, tight budgets | Your own truck, your own time, per-load fees |
| Specialized drop-off facility | Clean concrete, shingles, or scrap metal in bulk | Only accepts sorted single-material loads |
Most homeowners tackling anything bigger than a weekend project find a dumpster rental cheaper and faster once you account for gas, dump fees, and the hours spent loading a pickup truck multiple times.
Match the method to your timeline
Speed matters just as much as cost. A contractor working against a tight deadline can’t afford to wait on a transfer station’s limited hours or make five separate runs in a truck bed. Renting a dumpster that sits on site for the duration of the job means debris goes straight from the demo pile into the container, no repeated loading required.
The fastest disposal method is the one that keeps you from making a second trip.
Sizing and scheduling still matter here. Providers like Dump Express deliver seven days a week across Cape Cod and Plymouth, which means you can match delivery to your demo day instead of working around a facility’s hours. Pairing the right container size with a delivery window that fits your actual project timeline is what separates a smooth job from one that stalls out waiting on disposal logistics.
Step 4. Follow local rules and restrictions
Even with a perfectly sorted, correctly sized load, your project isn’t done until it clears local rules. Local disposal regulations on Cape Cod and in Plymouth vary town to town, and a transfer station in Falmouth might accept a load that gets rejected in Sandwich. Massachusetts also regulates construction and demolition debris at the state level through the Department of Environmental Protection, which sets disposal bans on materials like asphalt pavement, brick, and metal that must be recycled rather than landfilled.
Check permit and licensing requirements before you book
Some towns require a permit for roll-off dumpsters placed on a street or right-of-way, especially for extended rentals during a renovation. Before your delivery date, confirm these details with your town or your hauler:
- Whether a street placement permit is required for your address
- Any time limits on how long a dumpster can sit curbside
- Which local transfer station serves your town, and its hours
- Whether your hauler is licensed to transport C&D debris in Massachusetts
Skipping a permit check can turn a same-day delivery into a delayed one.
Watch for banned and restricted materials
Massachusetts bans several C&D disposal materials from regular landfill or incinerator disposal, including asphalt, brick, concrete, metal, and wood, all of which must go through recycling instead. Mixing these into a general debris load without telling your hauler can get the entire container flagged at the scale house. Yard waste, mattresses, tires, and hazardous materials face their own separate rules in most Cape Cod towns, so double-check before loading anything questionable into your dumpster.
Work with a hauler who already knows the rules
Working through this town by town gets tedious fast if you’re managing the project yourself. A local provider that handles these regulations daily, rather than a national call center dispatching from out of state, catches issues before they become rejected loads or fines. That local knowledge is exactly what separates a smooth pickup from a truck sent back empty-handed.
Getting debris off your site for good
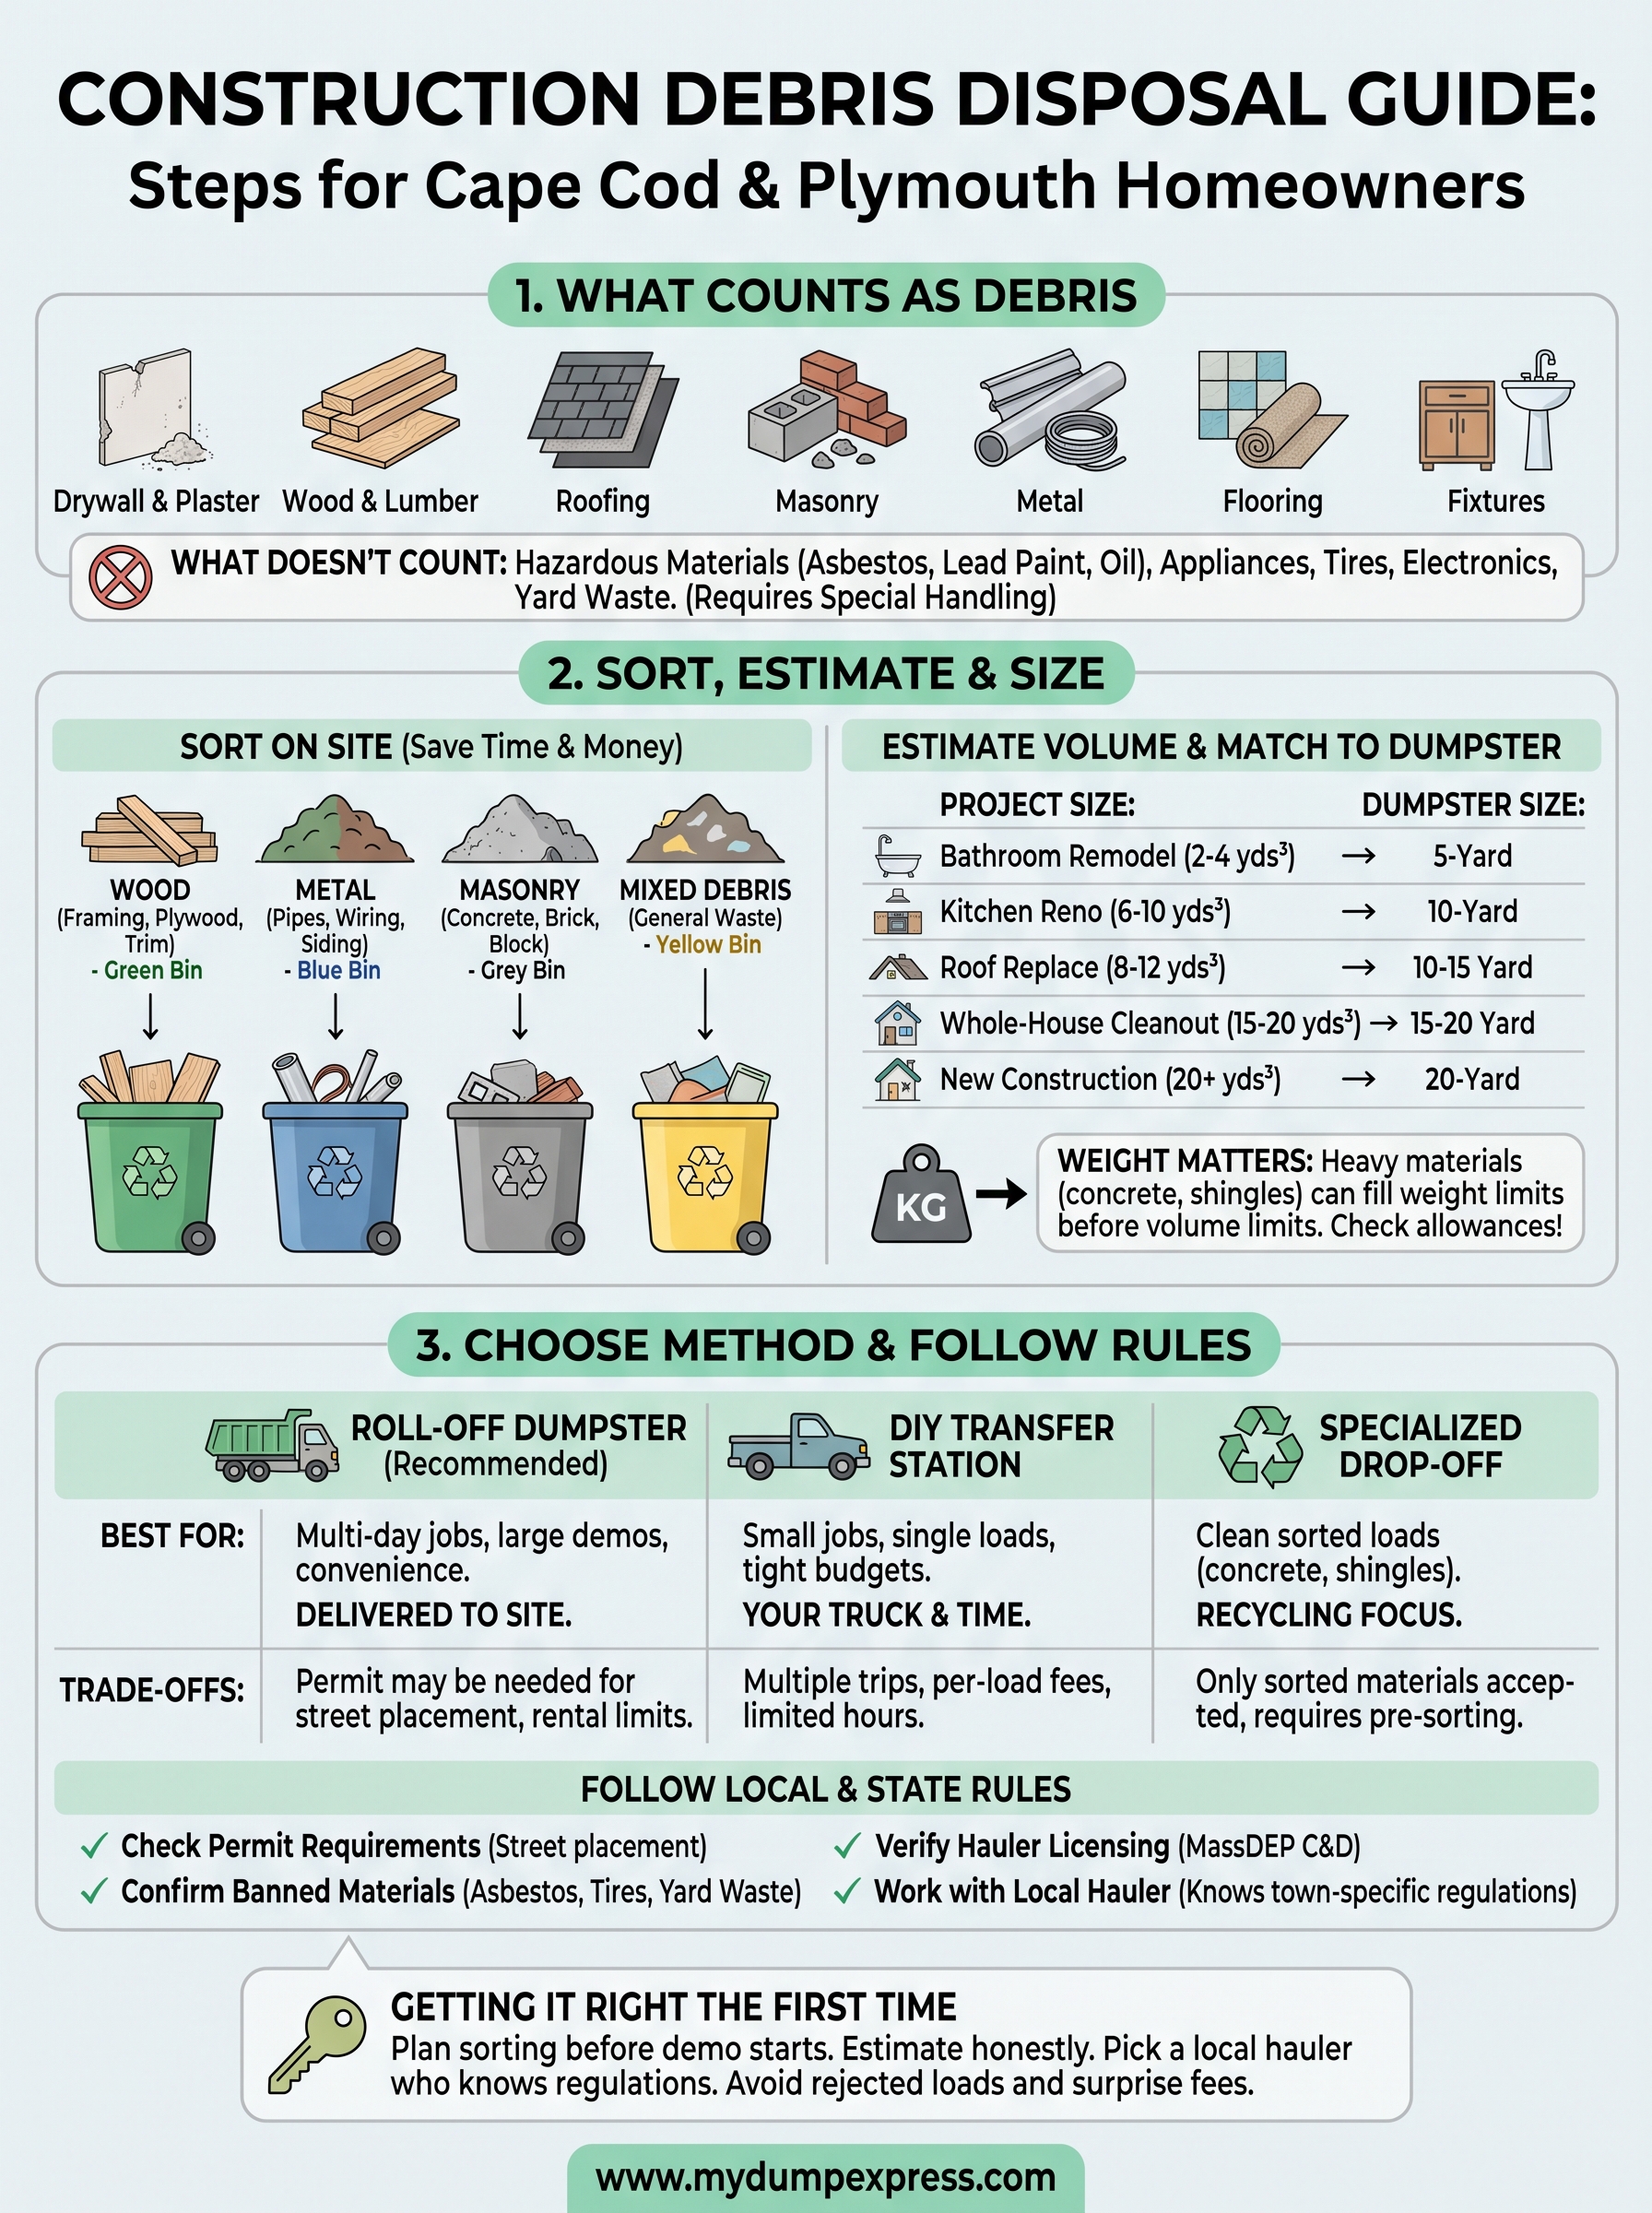
Sorting your materials, sizing the load correctly, and knowing which rules apply in your town covers most of what trips people up when disposing of construction debris. Skip any one of those steps and you risk a rejected load, an overage fee, or a truck sent back empty on a day you can’t afford to lose. Getting it right the first time comes down to matching the disposal method to your project instead of guessing and hoping it works out.
Tackle this the way any experienced contractor does: plan the sort before demo starts, estimate volume honestly, and pick a hauler who already knows the local rules cold. Local expertise saves you the fines and delays that catch out-of-town haulers off guard. If you’re ready to get a dumpster on site without the guesswork, request a quote from Dump Express and let a local team handle the sizing, scheduling, and rules for you.