You opened the basement door, looked down the stairs, and closed it again. We get it. Years of "I’ll deal with it later" have a way of turning a basement into a wall-to-wall storage disaster. But learning how to declutter a basement fast doesn’t require a week off work or a complete emotional breakdown, it requires a plan, a few hours of focused effort, and a place to put everything that’s leaving your house.
That last part is where most people stall out. You fill bags and boxes, stack them by the stairs, and then realize you have no way to haul it all away. At Dump Express, we drop off dumpsters across Cape Cod and Plymouth specifically for projects like this, basement cleanouts, moves, downsizing, so the junk actually leaves your property instead of sitting in your driveway. We’ve watched hundreds of customers go from overwhelmed to done in a single weekend, and the pattern is always the same: the people who move fastest are the ones who follow a checklist.
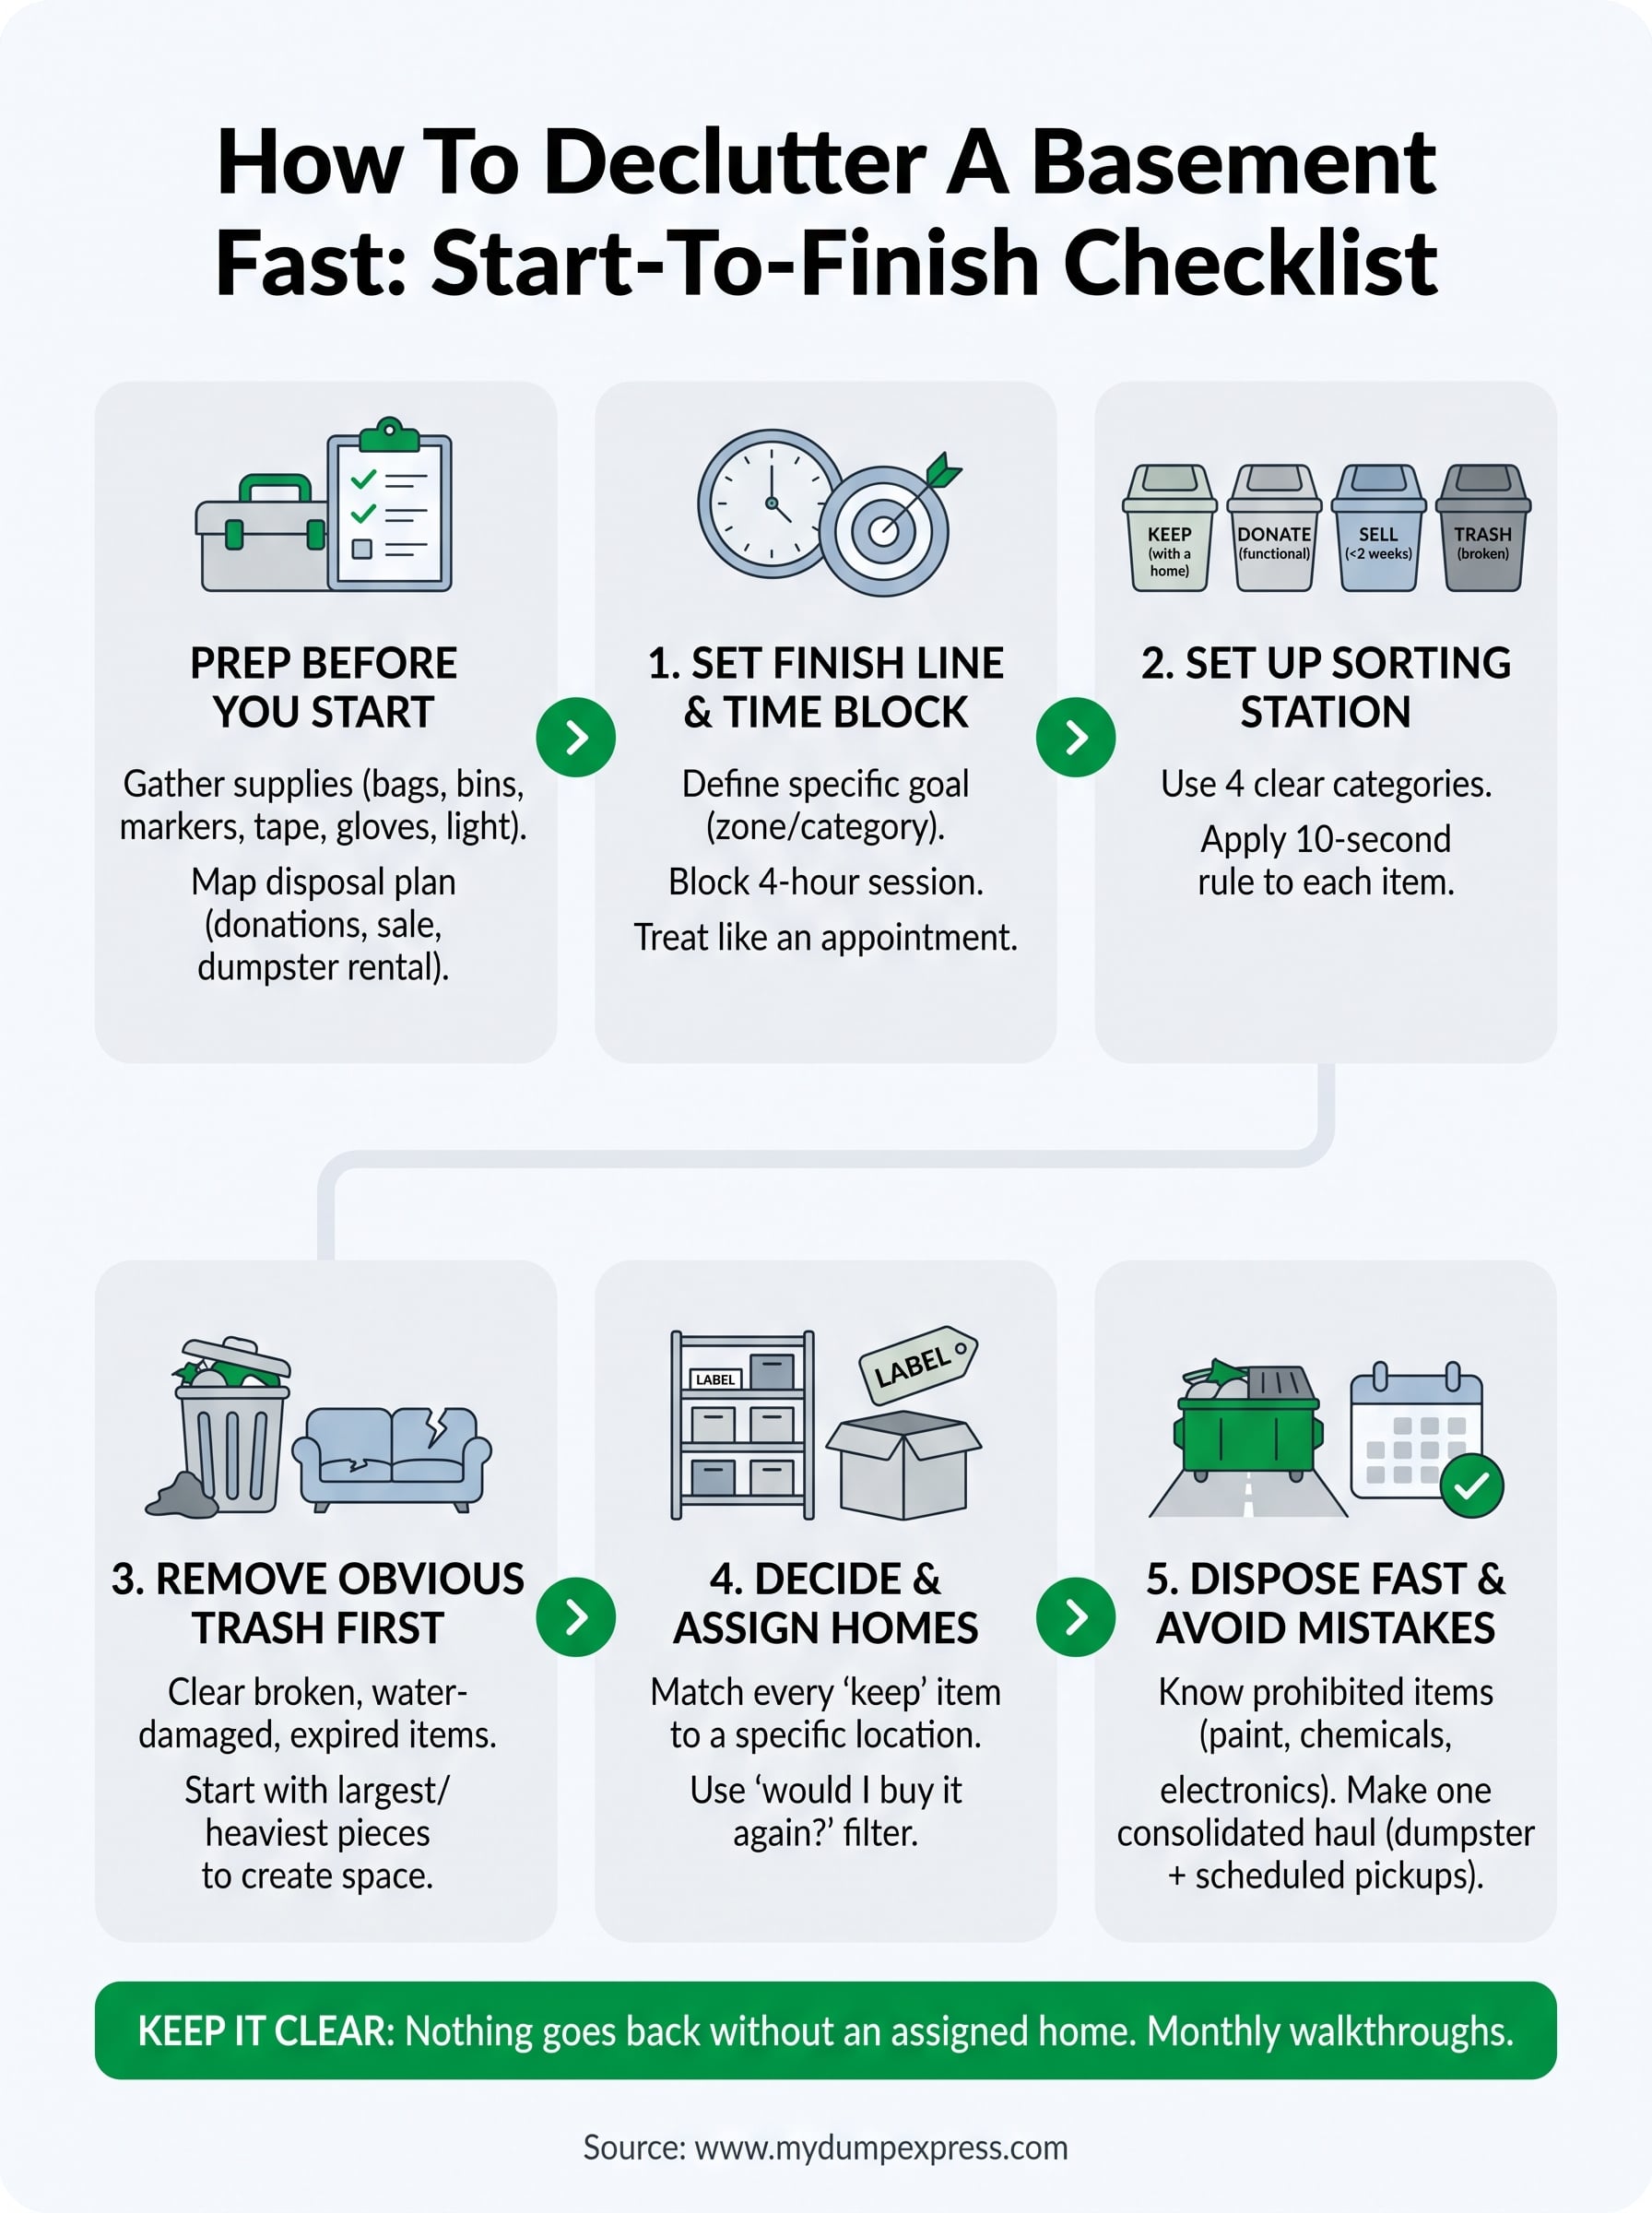
That’s exactly what this guide gives you. Below, you’ll find a start-to-finish basement decluttering checklist covering how to sort, what to toss immediately, how to organize what stays, and how to avoid the common traps that slow people down. Whether your basement is mildly cluttered or borderline archaeological, this process works the same way, one zone at a time, no overthinking allowed.
What to prep before you start
Skipping the prep phase is the single biggest reason basement declutters stall halfway through. You run out of bags, you have nowhere to sort items, or you hit a decision point with no backup plan and everything grinds to a halt. Spending 20 to 30 minutes on prep work before you carry a single box upstairs pays back hours later in the project. Think of it as loading your starting position so the actual clearing moves without interruption.
Gather your supplies before you go downstairs
You need physical tools ready before you start, not mid-project when you’re covered in dust and can’t find the markers. Pull all supplies together in one spot and bring them down at the start. Running upstairs to grab tape or labels mid-sort breaks your momentum and burns time you don’t need to lose.
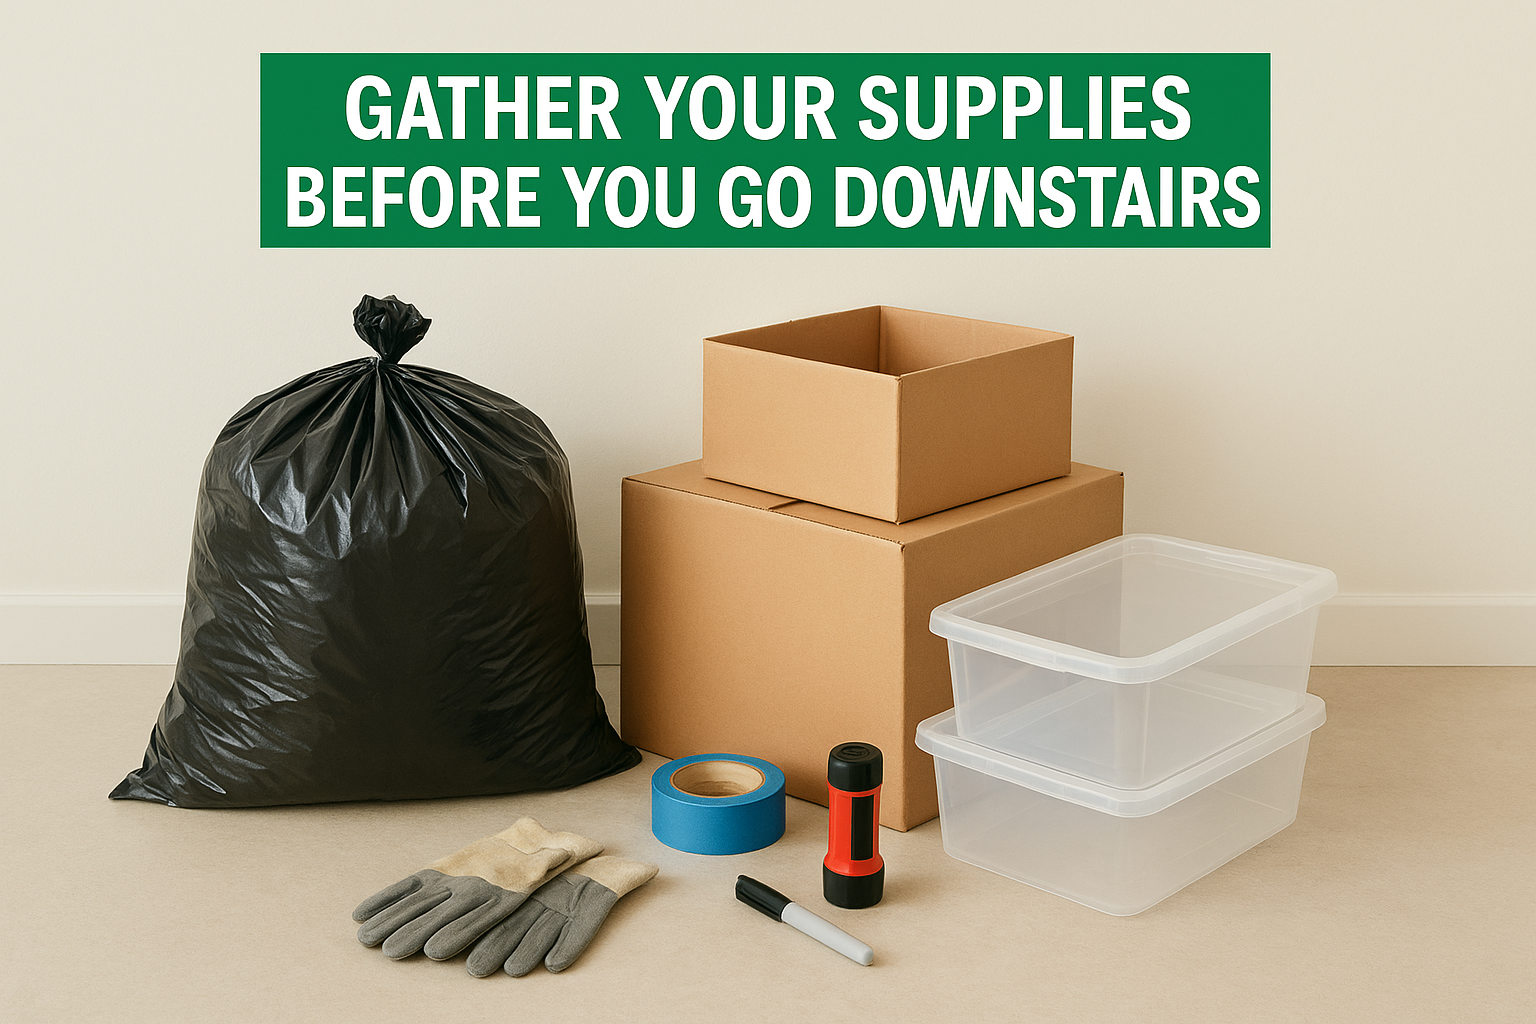
Here’s what to have ready before you start:
| Item | Why you need it |
|---|---|
| Heavy-duty contractor trash bags | Standard kitchen bags split under weight |
| Cardboard boxes or plastic bins (3+ sizes) | Sorting keeps decisions visible and fast |
| Permanent markers | Label everything as you go, not after |
| Masking tape or painter’s tape | Mark floor zones for keep, donate, toss |
| Work gloves | Sharp objects, broken glass, heavy debris |
| Portable work light or flashlight | Most basements have at least one dark corner |
| Dolly or hand truck | Appliances and heavy boxes will hurt your back otherwise |
| Notepad | Track items to sell or donate before they leave |
One optional but useful addition is a folding table. It gives you a dedicated sorting surface so you’re not crouching over the floor for four hours straight.
Map out your disposal plan before the first box moves
This is the step most people skip when figuring out how to declutter a basement fast, and it’s why so many projects end with piles sitting at the bottom of the stairs for weeks. You need a confirmed destination for everything that leaves the basement before you pull the first item out. If the plan is "I’ll figure it out later," the junk just relocates instead of disappearing.
Decide ahead of time where donations go, what gets listed for sale, and how bulky debris will leave your property. Without that plan in place before you start, the stuff just moves rooms instead of leaving your house.
Donation pickup schedules vary widely by organization, so check availability for your area before assuming someone will arrive the next day. For large volumes of mixed junk, old furniture, renovation debris, or anything that won’t fit in your car, renting a dumpster gives you the most flexibility because the container sits on your property while you work at your own pace, then gets hauled away when you call.
Also confirm whether your town or HOA has placement rules for dumpsters in driveways or on the street. Some Cape Cod communities have specific requirements about how close a container can sit to the road or a neighbor’s property line. A two-minute call to your local DPW or your rental company resolves this before it becomes a problem on delivery day.
Step 1. Pick a finish line and a time block
Most people start a basement cleanout with no clear picture of what they’re trying to achieve or how long it should take. Vague goals produce vague results. Without a defined finish line, you drift from corner to corner, make partial progress everywhere, and finish the day with a basement that looks rearranged rather than cleared. The fix is straightforward: define exactly what "done" looks like before you carry a single box out of the space.
Set a specific goal for the session
"Declutter the basement" is not a goal. "Clear the northeast corner, the area under the stairs, and all boxes stacked along the back wall" is a goal. When you know what you’re targeting, you can measure progress in real time, stay on task, and stop when you’ve actually finished rather than wandering until you’re too drained to make decisions. Understanding how to declutter a basement fast starts with knowing what "fast" looks like for your specific layout.
Pick a zone or a category for your first session, not the whole basement. Here are practical goal options depending on your situation:
- By zone: Pick one quadrant and clear it completely before moving to the next
- By category: Pull all unlabeled or "miscellaneous" boxes first, then tackle furniture and appliances
- By item type: Start with cardboard, then broken or non-functional items, then anything oversized
You don’t need to finish the whole basement in one session. Completing one zone entirely beats making partial progress in five different areas.
Block time and treat it like an appointment
Set a specific start time and a hard stop time rather than leaving the session open-ended. A four-hour block handles most basement zones without burning you out. Open-ended cleanouts drift after the two-hour mark, and tired decision-making is where things get kept that should get tossed.
Write the time block into your calendar the same way you’d schedule a contractor or a delivery. Let your household know the window so interruptions don’t eat into your progress. If you’re renting a dumpster, schedule the drop-off for the morning before your session begins so the container is already sitting in your driveway when you carry out the first load.
Step 2. Set up a sorting station that forces decisions
A sorting station isn’t a luxury, it’s the mechanism that keeps every item moving toward a decision instead of getting set aside for "later." Without a dedicated processing zone, everything piles up in the same space and you end up shuffling items rather than clearing them. Before you pull anything out of the basement corners, designate a flat area near the stairs or along an open wall where everything gets processed.
Use four clear categories, not two
Most people sort into "keep" and "toss," and that’s exactly why so many basement cleanouts stall. Two categories force a hard call on every borderline item, which kills your pace. Breaking items into four distinct categories keeps decisions moving and prevents the "I don’t know" pile from swallowing your entire session.
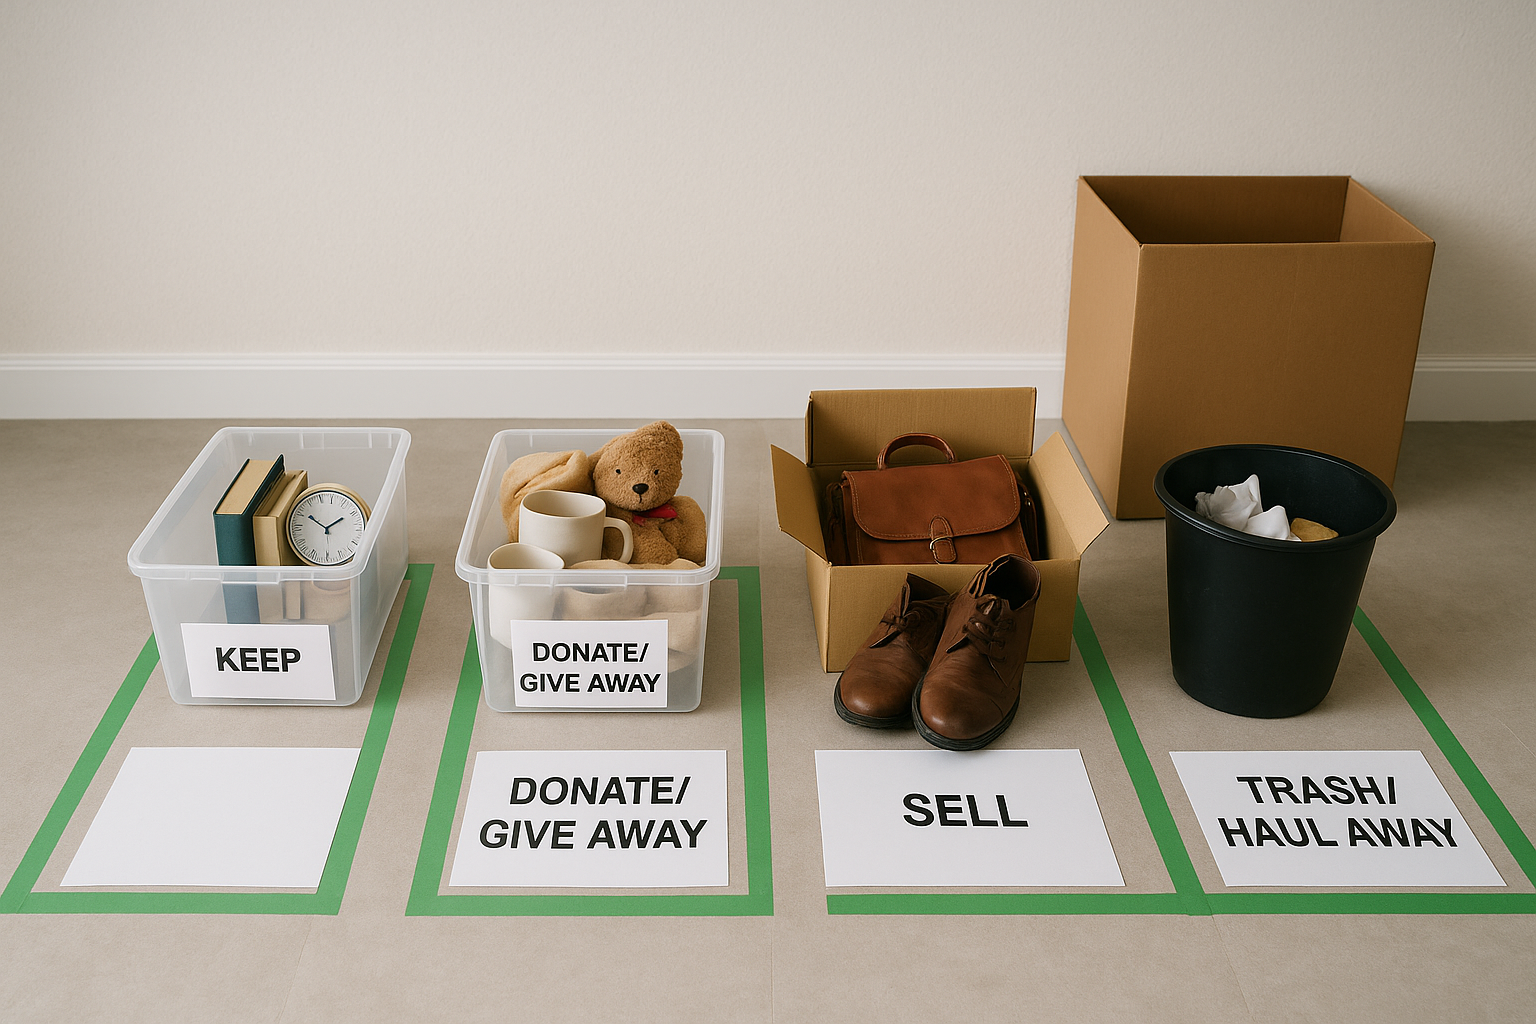
Label four zones on the floor with tape or set up physical containers for each:
- Keep: Items you use, need, and have a confirmed storage spot for
- Donate/Give away: Functional items you no longer want
- Sell: Items worth listing if you can commit to a pickup or drop-off within two weeks
- Trash/Haul away: Broken, expired, water-damaged, or non-functional items
If something sits in the "sell" pile for more than two weeks without action, move it to donate or trash. Selling shouldn’t become a reason to keep junk in your house any longer.
Keep items moving through the station
The sorting station only works if you enforce one firm rule: nothing goes back down into the basement. Every item that comes up gets placed into one of the four labeled zones, no exceptions, no "I’ll decide on that one later." Hesitating briefly on a single item is fine, but setting it back in a corner defeats the entire system.
A practical method that fits well into learning how to declutter a basement fast is applying a ten-second rule to each item. Pick it up, make a call, place it in the correct zone, and move on. When you genuinely cannot decide within ten seconds, the item goes into a "decide later" box that you process at the end of the session, not mid-sort when your pace matters most. That box should have a hard limit of ten items, which forces you to stay decisive rather than using it as a second "I don’t know" pile.
Step 3. Remove big, heavy, and obvious trash first
Before you touch a single labeled box or mystery bin, clear out everything that obviously belongs in the trash. Large, broken, and clearly useless items are the low-hanging fruit of any basement cleanout, and removing them first creates physical space to work in and builds visible momentum fast. This is the step that makes your basement feel like progress is actually happening instead of just moving items around.
Identify what qualifies as obvious trash
Not every item requires deliberation. Broken furniture, waterlogged cardboard, cracked plastic bins, rusted tools, and anything that smells of mold all belong in one category: out. You don’t need the sorting station for these items because there’s no decision to make. Pulling obvious trash first is one of the fastest moves you can make when figuring out how to declutter a basement fast.
Here are common categories that qualify as automatic toss items:
- Broken or non-functional: Chairs with missing legs, appliances that don’t power on, cracked storage containers
- Water or mold damaged: Cardboard boxes that have absorbed moisture, fabric items with visible mold, warped wood
- Expired or outdated: Old paint cans (check if dried out), expired chemicals, outdated electronics with no working cables
- Safety hazards: Broken glass, rusted sharp metal, old propane canisters, deteriorated extension cords
Pull everything in these categories out before you sort anything else. Clearing obvious trash first opens up floor space that makes every later step faster and physically easier.
Work from largest to smallest
Start with the biggest items because they consume the most floor space and the most physical energy. An old couch, a broken chest freezer, or a stack of waterlogged drywall sitting in the corner blocks access to everything behind it. Get bulky items out to the dumpster or the curb first, then work your way down to smaller debris like broken tools, tangled cords, and loose junk.
Your body has the most energy at the start of the session, so use that window on the heaviest work. Carry large items with a partner or use a dolly to protect your back, then shift to lighter debris clearing once the big pieces are gone. By the time you’ve emptied the obvious trash, your basement should already look meaningfully different, which makes every following step feel more manageable.
Step 4. Decide what stays and where it lives
Once the obvious trash is gone and your sorting station is working, you hit the hardest part: deciding what actually earns a spot in your basement. This is where most people slow down because "keeping something" feels like a safe default. It isn’t. Every item you keep without a confirmed storage location is just clutter you’ve decided to tolerate, and it fills back up the space you just cleared. The rule that keeps your momentum going is simple: nothing stays unless you can name exactly where it will live.
Match every keeper to a specific location
A keep pile without a plan is a future problem. Every item you move to the keep category needs an assigned zone, shelf, or container before it goes back into the basement. If you can’t answer "where specifically does this go," the item is not ready to be kept yet. Use this as a quick reference for common basement storage assignments:

| Item Type | Where It Should Live |
|---|---|
| Seasonal decorations | Labeled bins on a dedicated shelf by category |
| Tools and hardware | Wall-mounted pegboard or labeled drawer unit |
| Sports equipment | Wall hooks or a freestanding rack near the stairs |
| Camping or outdoor gear | Stackable bins on a lower shelf, grouped by trip type |
| Documents or files | Fireproof box or sealed plastic bin off the floor |
| Spare parts or hardware | Small labeled containers in a single drawer unit |
Labeling matters as much as placement. Write what’s inside on the outside of every bin so you never have to open it to know what’s there. A label maker works, but a permanent marker on masking tape does the same job in half the time.
Apply a one-in, one-out filter to edge cases
Borderline items are the ones that slow down how to declutter a basement fast more than anything else. For every item you feel uncertain about keeping, ask one direct question: "Would I go buy this if I didn’t already own it?" If the answer is no, it doesn’t stay. If yes, it earns a spot, but only if you can assign it a specific location right now.
Keeping something because you might need it someday is not a reason. Keeping it because you know exactly when and where you’ll use it is.
Work through your entire keep pile using this filter before you move a single item back into the basement. Group similar items together as you place them, so your basement gains function, not just floor space.
Step 5. Dispose fast and avoid costly mistakes
Getting everything sorted is satisfying, but disposal is where the project either finishes cleanly or turns into a prolonged headache. Moving fast through this final step means having your removal method confirmed before the last box gets sorted, not after. The fastest part of learning how to declutter a basement fast is realizing that a rented dumpster sitting in your driveway removes the "where does this go" problem entirely, so you carry items out once and they’re gone.
Know what you cannot throw in a dumpster
Not everything from your basement can go into a standard dumpster, and tossing prohibited items creates unexpected surcharges or rejected loads that delay your project and cost you money. Review this list before you load anything:
- Paint cans: Dried-out latex paint is generally accepted, but liquid paint is not
- Propane tanks or fuel canisters: These require separate hazardous waste disposal
- Batteries and electronics: Most areas have dedicated e-waste drop-off programs
- Fluorescent bulbs: Contain mercury and must go through specific collection programs
- Asbestos-containing materials: Require licensed removal and disposal
- Motor oil or chemical containers: Contact your local transfer station for accepted drop-off
If you are unsure whether an item is accepted, call your dumpster rental company before you load it. A two-minute conversation saves you a surcharge and a rejection headache on pickup day.
Check with your local municipal solid waste program or your rental provider directly for a confirmed list of restricted materials in your area before disposal day.
Make one haul, not four trips
Multiple car trips to a donation center or transfer station eat up time and energy that your project doesn’t have to spare. Plan your disposal so everything leaving your property goes in a single coordinated effort. Rent a dumpster for mixed debris and schedule donation pickups or drop-offs on the same day your rental period ends so you clear the driveway in one move.
Bag and box every trash category the night before so loading takes minutes rather than hours. If you’re donating furniture, confirm the organization accepts oversized items before you carry them upstairs. One confirmed plan executed cleanly beats four improvised trips that drag the project out across an entire week.
Keep your basement clear after the reset
Knowing how to declutter a basement fast gets you through the initial clear-out, but one habit keeps it from reverting: nothing goes into the basement without an assigned home. Before any item goes downstairs, you decide exactly where it lives. That single rule prevents the slow creep of "I’ll store it here for now" that rebuilds clutter over months.
Schedule a 15-minute monthly walkthrough to catch anything that slipped through. Pull items that lost their purpose, return misplaced things to their labeled bins, and toss anything that no longer belongs. Doing this once a month takes far less effort than another full cleanout.
When a bigger project creates a fresh wave of debris, having a removal plan ready makes all the difference. Rent a dumpster on Cape Cod from Dump Express and get same-day or next-day delivery so the junk leaves your property the moment you’re done sorting.